Homelab Push Notifications Using Uptime Kuma and Pushover

Do you get notified if your services go down (which they never do...) and come back up? Have you ever wanted those notifications to look like this?


Well, today we'll make that happen.
Previously I had set up an instance of Uptime Kuma on a Linode in order to monitor my homelab "from the cloud" (check the link below if you'd like to read about it). This blog will be an extension of the blog above because now I'd like to set up Push notifications about my lab, to my phone, from the cloud. We'll be using Pushover to handle sending my phone (or any device, in your case) said notification.

Consider signing up
Before we get into it, if you're interested in getting emails when I post something new, click sign up below. It's free and I don't run ads.
What is Pushover?

Pushover is a service that allows you to receive simple notifications on your iPhone/iPad/Android/Desktop.
Although it's not free, there is a 30 day trial. To purchase it there's a $5 one time purchase per platform (I'm a big fan of platforms that are one time purchases). That means if you want to receive notifications on your phone and desktop, you'll be out $10. Very reasonable.
Anyway, you'll obviously need a Pushover account and then you'll need to download the app on what ever platform you want to receive notifications on. For me, that's my iPhone. Login to your new Pushover account on the app you downloaded.
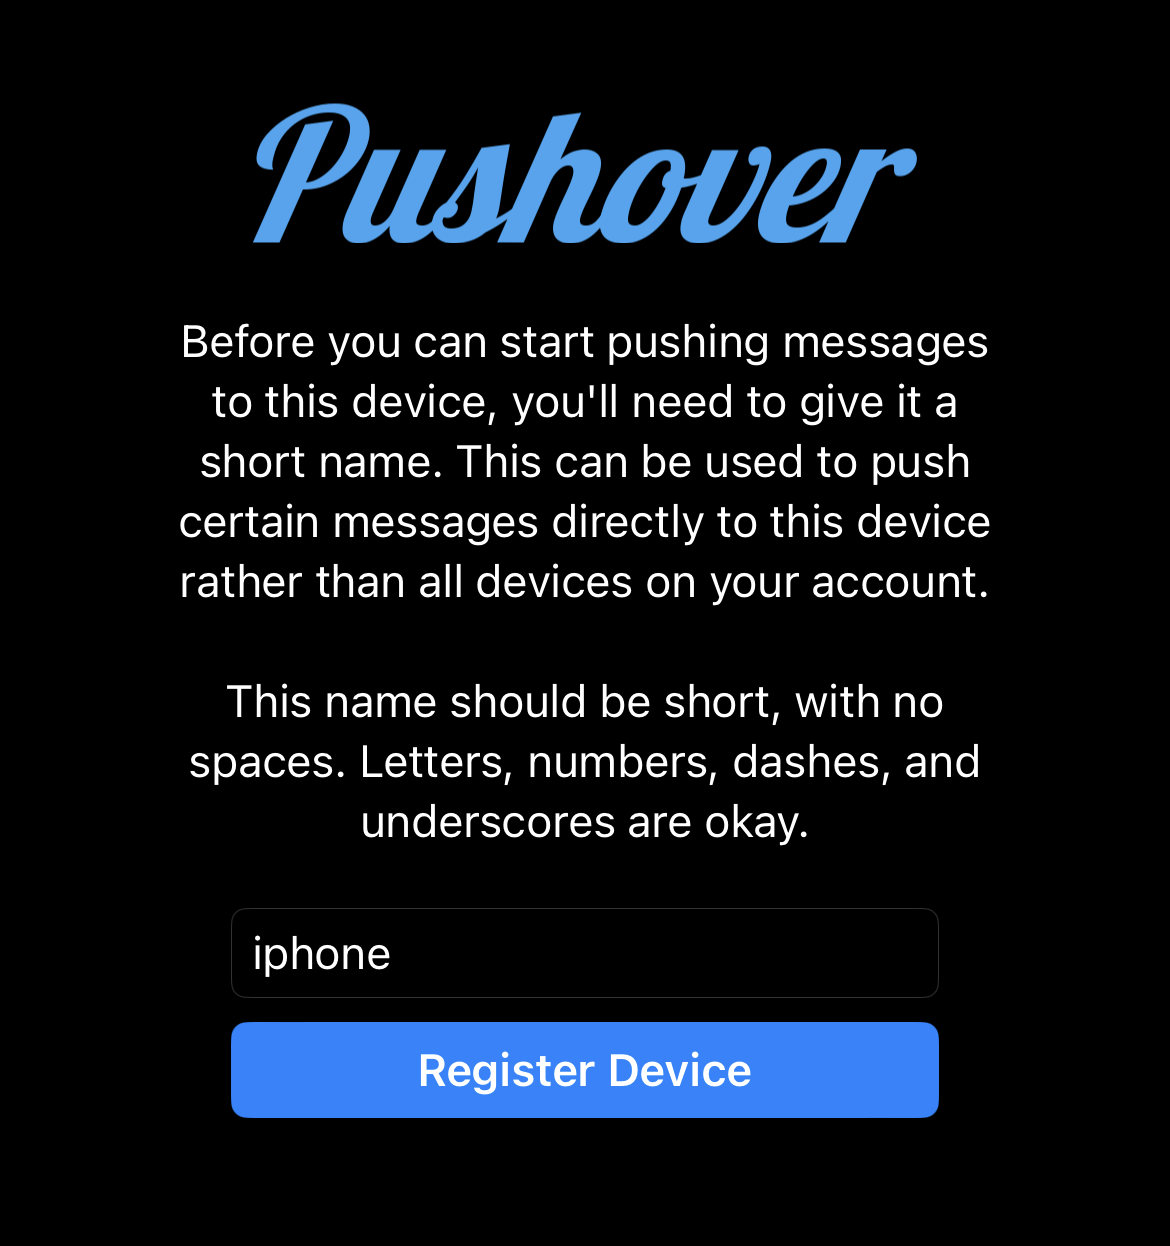
When you login on any of the Pushover apps you'll be asked to register the device you're on. I gave mine the name "iphone", but you can call yours whatever you like.
Now login to your Pushover account on a web browser.
On the home page, you'll want to take note of your "User Key" in the top right corner, you'll need this later on.

Click "Create an Application/API Token" at the bottom of the page. On the next page fill in the details of the application you're making and click "Create Application".
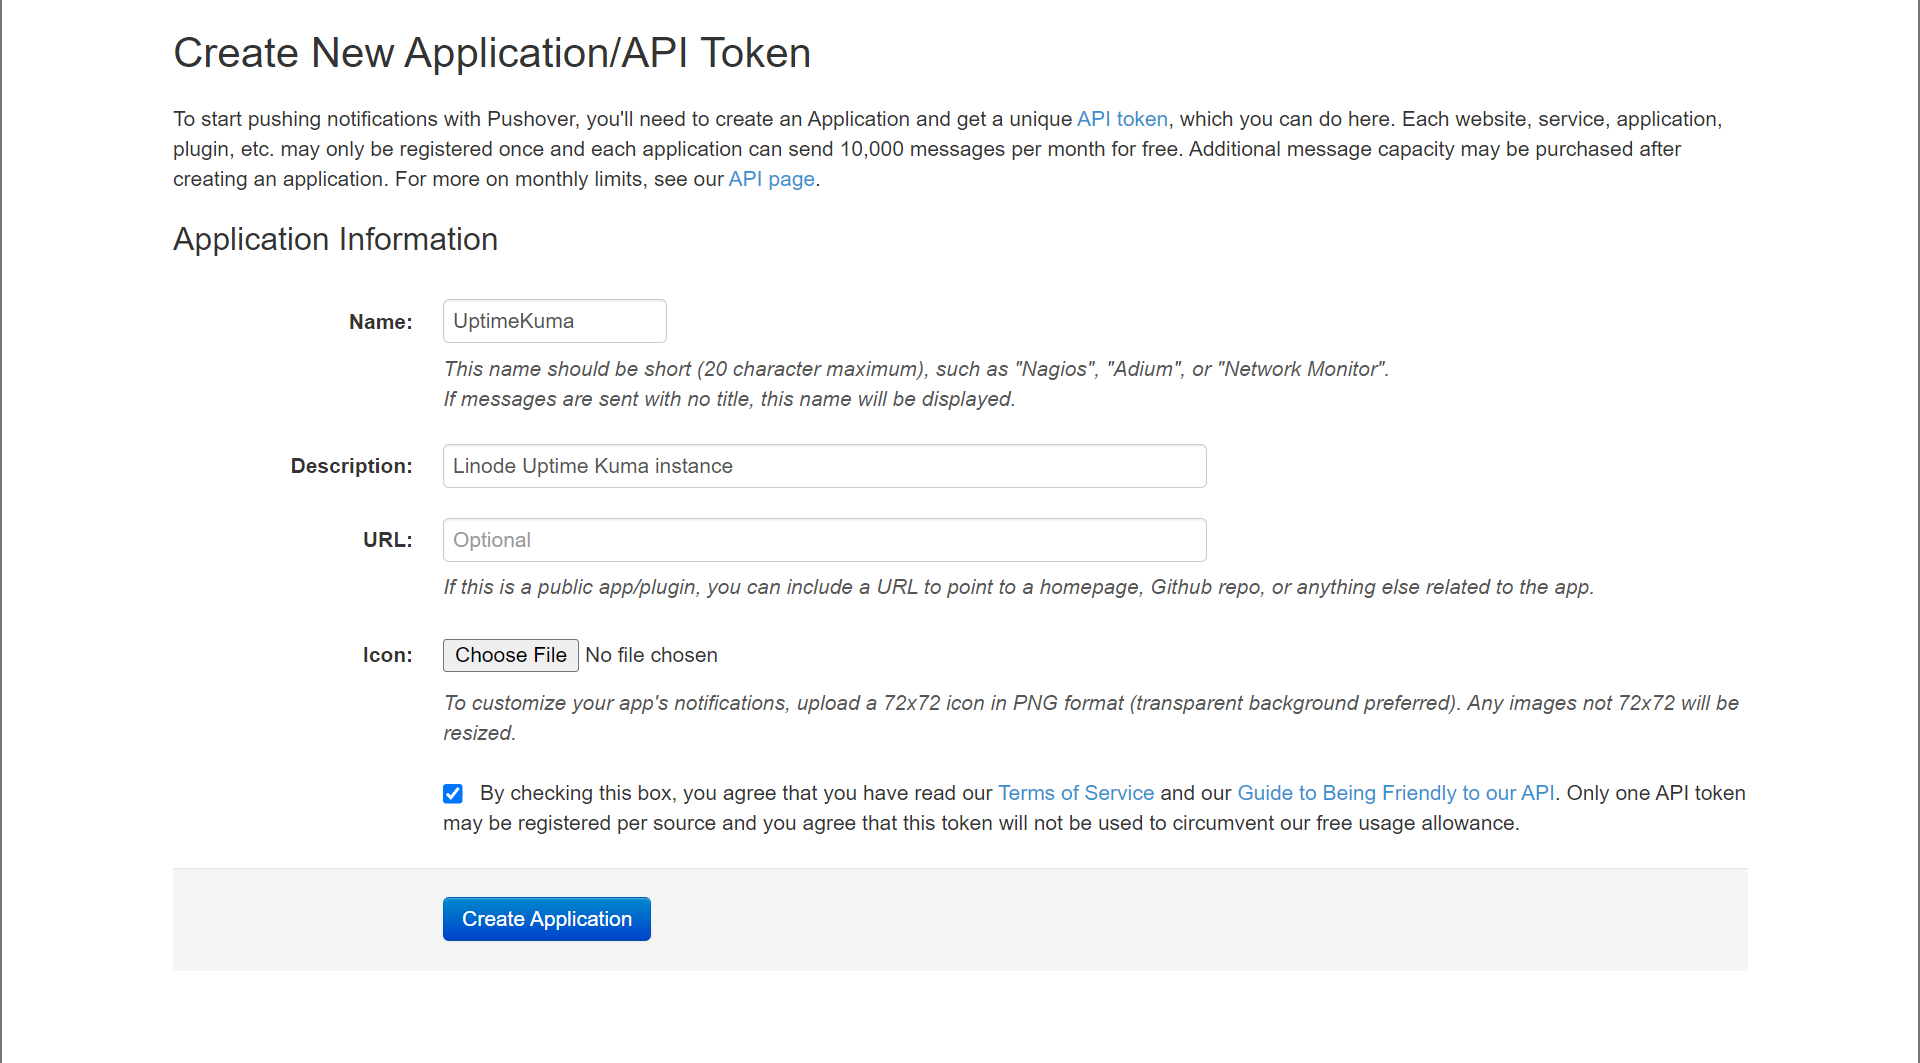
You'll be presented with a page that displays the API Token/Key for this application. That value will be copy/pasted into Uptime Kuma, so go ahead and copy it.

Now, let's head over to the Uptime Kuma instance.
Uptime Kuma config
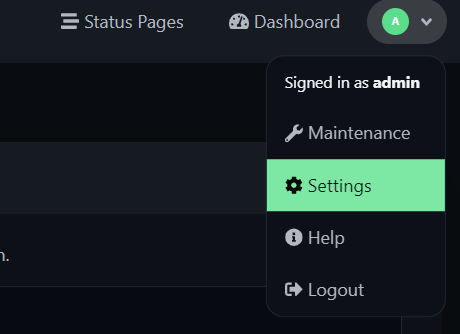
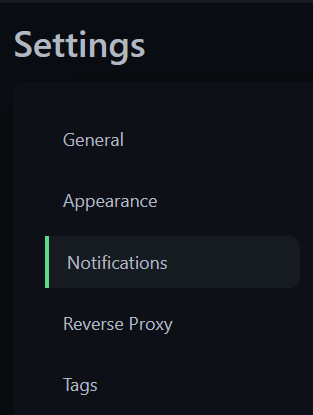
Under "Settings" > "Notifications", click "Setup Notification".
This screen will allow us to configure our notification. Uptime Kuma has tons of ways to get notified about your services, here are a few that standout as good options to me:
- Discord bot
- Slack
- Microsoft Teams
- SMS
- Push notification
We're obviously going with Push notifications today, but I've used the Discord bot in the past and it worked perfectly. In the popup box I'll select "Pushover" as my Notification Type. Also, give it a friendly name and message title.
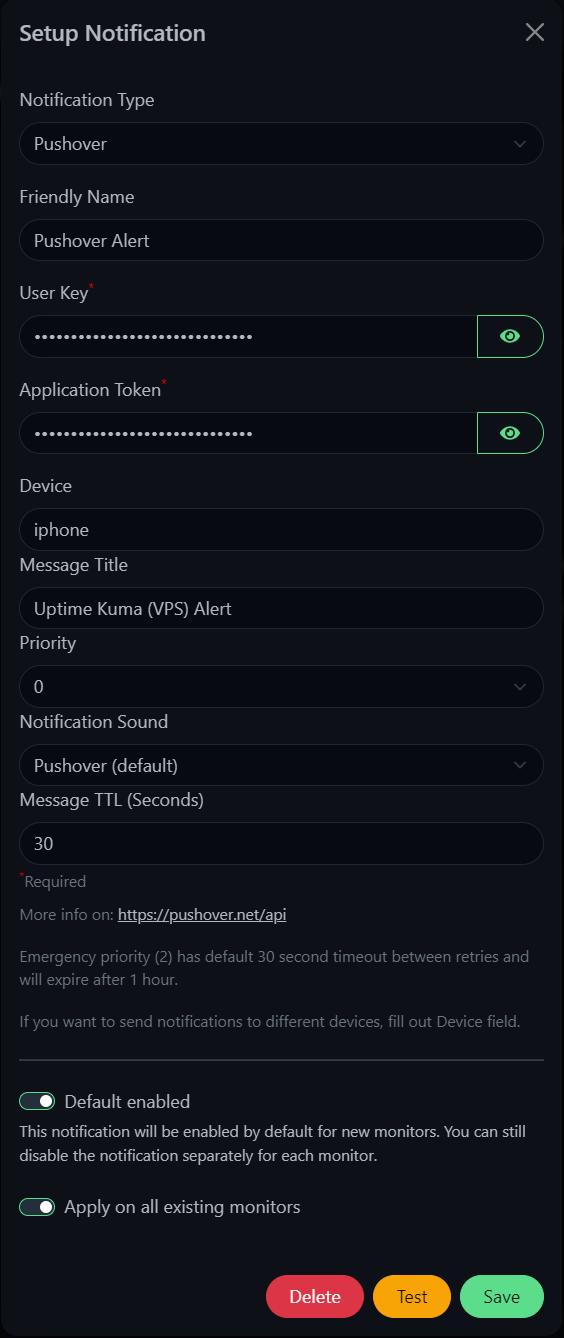
You're going to paste in three additional pieces of info from Pushover to make Uptime Kuma communicate with it:
- the Application Token (or API Token/Key), found when you click the name of your Application at the bottom of the homepage.
- your User Key, found on the right side of the homepage.
- the name of a device you'd like these notifications to go to (as a reminder, I gave mine the name "iphone").
So head back over to Pushover, grab that info, and put it in this popup within Uptime Kuma like my screenshot above.
You're welcome to edit some of the other fields like Message Title (i.e. the actual title of the Push notification you'll receive)., TTL, Priority, etc. I've also chosen to select "Default enabled" and "Apply on all existing monitors" at the bottom.
That's it! Click "Test" to confirm your notification works the way you want.
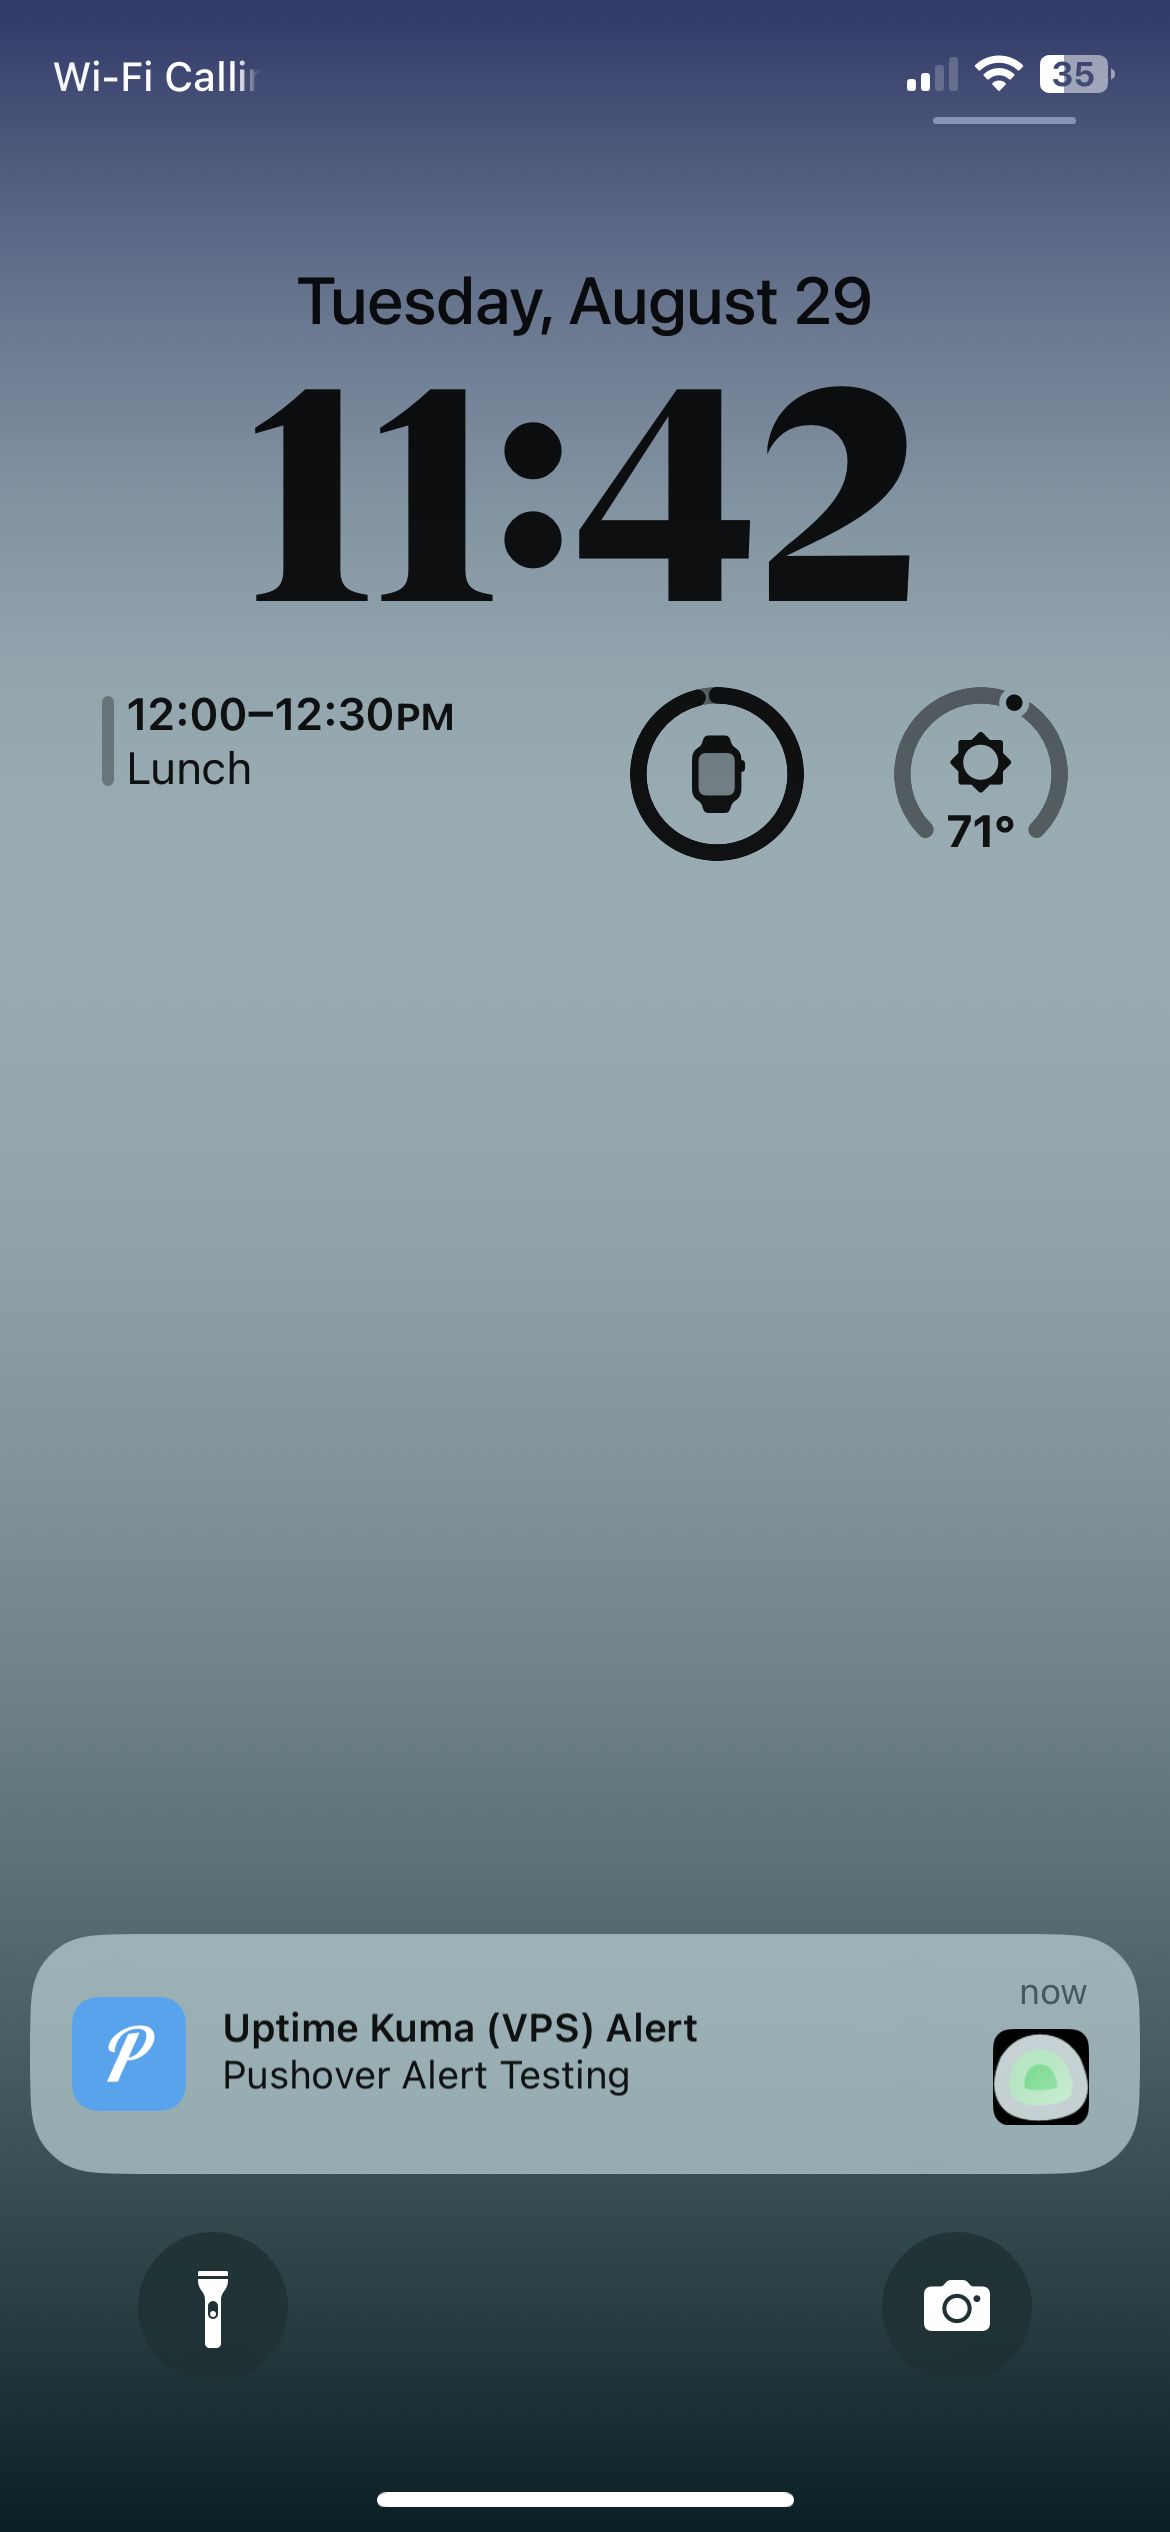
Look at that. You now have Push notifications set up for your homelab.