The Ultimate Homelab Homepage Guide
Ever wanted to set up a homepage for your homelab? I'll show you how to set up seven different options.
If you haven't heard, hosting a local static homepage for your homelab is all the rage. Also, you're very uncool if you haven't done one yet.
Obviously that's not true, because I haven't done one yet! So why don't we do one (or six) together?
I'm going to be setting up seven options today (SUI, Flame, Heimdall, Homepage, Homer, Dashy, and Homarr) so we can see how easy/hard they are to get going, how beginner friendly they are, and what their feature sets are.
Before we get into it, it's important to think about what it is you might be looking for. Maybe you want something very simple that's configurable with a GUI and strictly just has links to your most used services. Maybe you want the most complex homepage you can build with API integrations into your services and statistics on your Docker hosts and VMs. Maybe you want something in the middle. Regardless, having a rough idea of what you're looking for will help you weed out the options that won't work for you in this post.
My goal here is to give you a framework, or, a way to think about how I find it useful to setup and configure these apps, in order for you to use them in your own lab. There's no point in you doing exactly what I did if that doesn't work for you! Chances are you're hosting different services than me - but of course you're welcome to copy what I'm doing if that blows your hair back.
Also remember, all of these projects are free - and that in and of itself is amazing. Please go show the developers some love!
Consider signing up
If you're interested in getting emails when I post something new, click sign up below. It's free.
SUI
-
We're starting off simple.
SUI, and it's sister, Flame, are the easiest setup/configuration of the bunch. I'd recommend this one to anyone who doesn't care about integrations or having additional stats of services shown on their startpage (like ping).
For those of you who like to tinker and incorporate as much as possible into these platforms, SUI and Flame will likely be a touch too simple for you.
Install
Like most of the others we'll go through today, it's very easy to get started with Docker Compose. Just make a directory on your Docker host, mine is /home/docker/sui, cd to it, and run the below command.
git clone https://github.com/jeroenpardon/suiThen, bring up the container.
docker-compose up -dThen promptly receive an error that the Docker network cannot be found, just a reminder that I'm learning too!

I just ran the command in the error message and fixed it.

Config
And now, SUI is accessible on localhost:4000. We're greeted with a very nice example page with plenty to get started with.
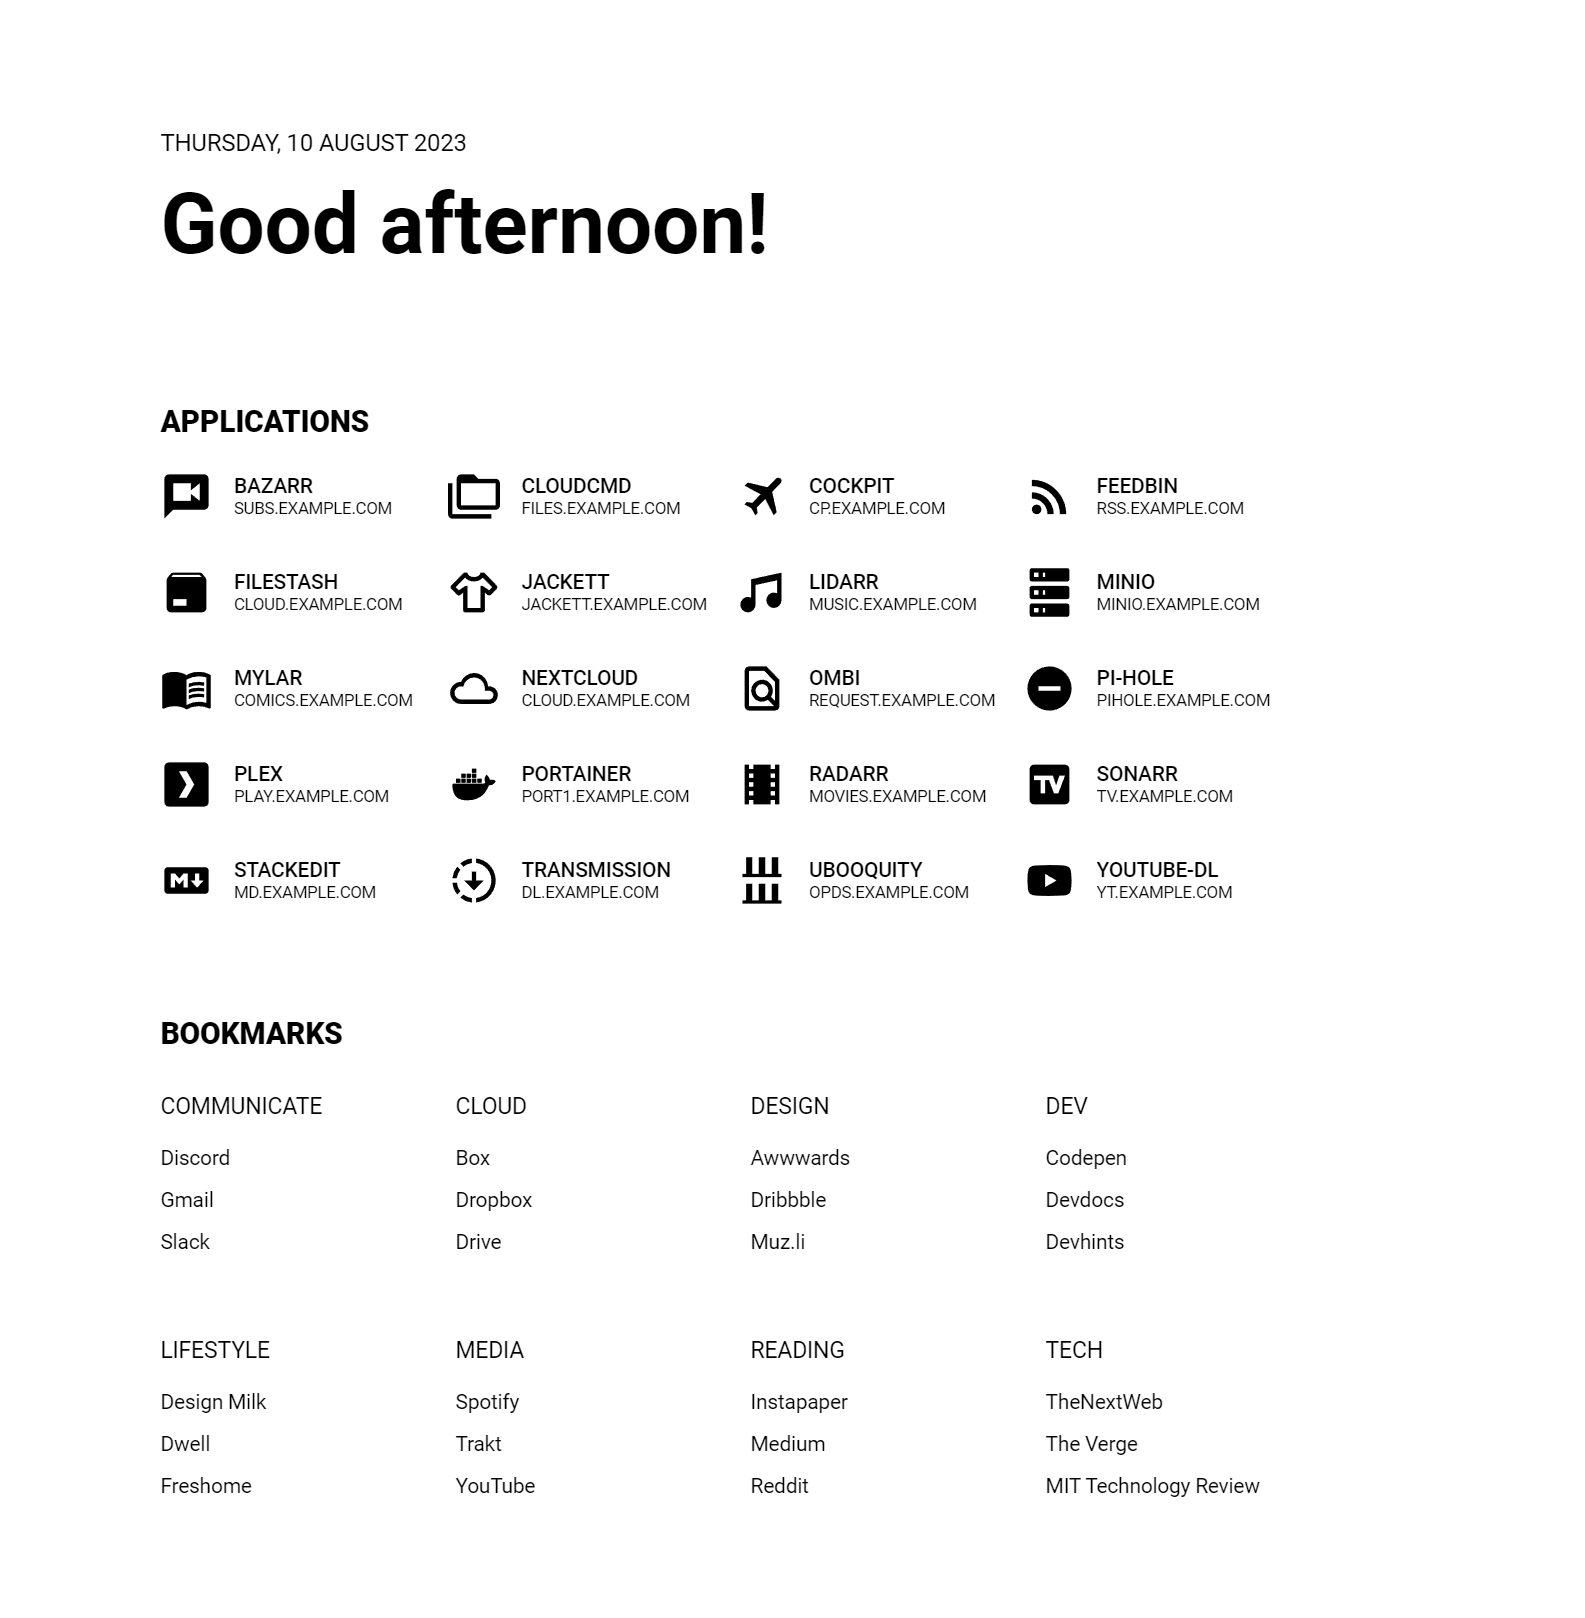
Editing the apps list requires editing the apps.json file inside the repo you cloned. Here's what I came up with if you're interested in a starting point, don't forget to update your URLs.

{
    "apps" : [
        {"name":"pfsense","url":"10.1.1.1","icon":"wall"},
        {"name":"Nginx Proxy Manager","url":"nginx.domain.com","icon":"arrow-decision"},
        {"name":"TrueNAS","url":"Truenas.domain.com","icon":"tape-drive"},
        {"name":"Pi-hole","url":"pihole.domain.com","icon":"do-not-disturb"},
        {"name":"Portainer","url":"portainer.domain.com","icon":"docker"},
        {"name":"Plex","url":"plex.tv","icon":"plex"},
        {"name":"Tautulli","url":"tautulli.domain.com","icon":"chart-box"},
        {"name":"Speedtest Tracker","url":"speedtest.domain.com","icon":"speedometer"}
    ]
}
How do those icons work?
SUI and Flame both use Material Design Icons, also known as MDI, to render the icons next to your services using just a shortcode.
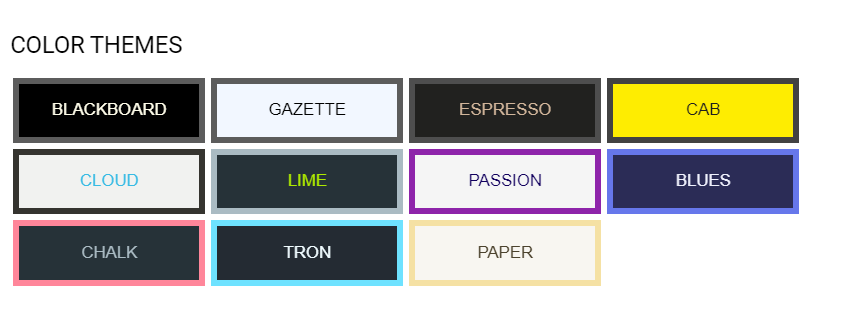
You can also edit the bookmarks section by editing links.json in the same way, I'm not going to get into that though. Lastly, there is a color theme option in the bottom lefthand corner, which is pretty nifty since dark themes are life.
I do wish you could give the applications a subtitle or description, as it's nice to have alternate text associated with some services. Overall, it's a simple app that works as expected and looks nice doing it. I personally like that it's no frills, and if that's what you're looking for I think SUI could be a great option for you.
Flame
-
Flame was inspired (heavily, in the dev's words) by SUI, so you'll see the look is very similar. The major difference, from what I see, is that Flame is SUI with a GUI. No file editing necessary, it's all done right inside Flame's GUI here, which is very easy to use. Flame easily takes the cake for "easiest configuration". It's the perfect choice for someone who wants a really great looking startpage but doesn't want to have to edit it via yaml or json file.
Install
On your Docker host just run the below command to get started.
docker run -p 5005:5005 -v /path/to/data:/app/data -e PASSWORD=flame_password pawelmalak/flameConfig
After installing, accessing the app from localhost:5005, and logging in (I changed my theme to "Mint" as well) you'll be greeted with this page.

Unlike SUI, Flame starts off empty. Clicking "Applications" brings you to the applications editor, and it's as simple as adding each service you want a link to on your homepage.
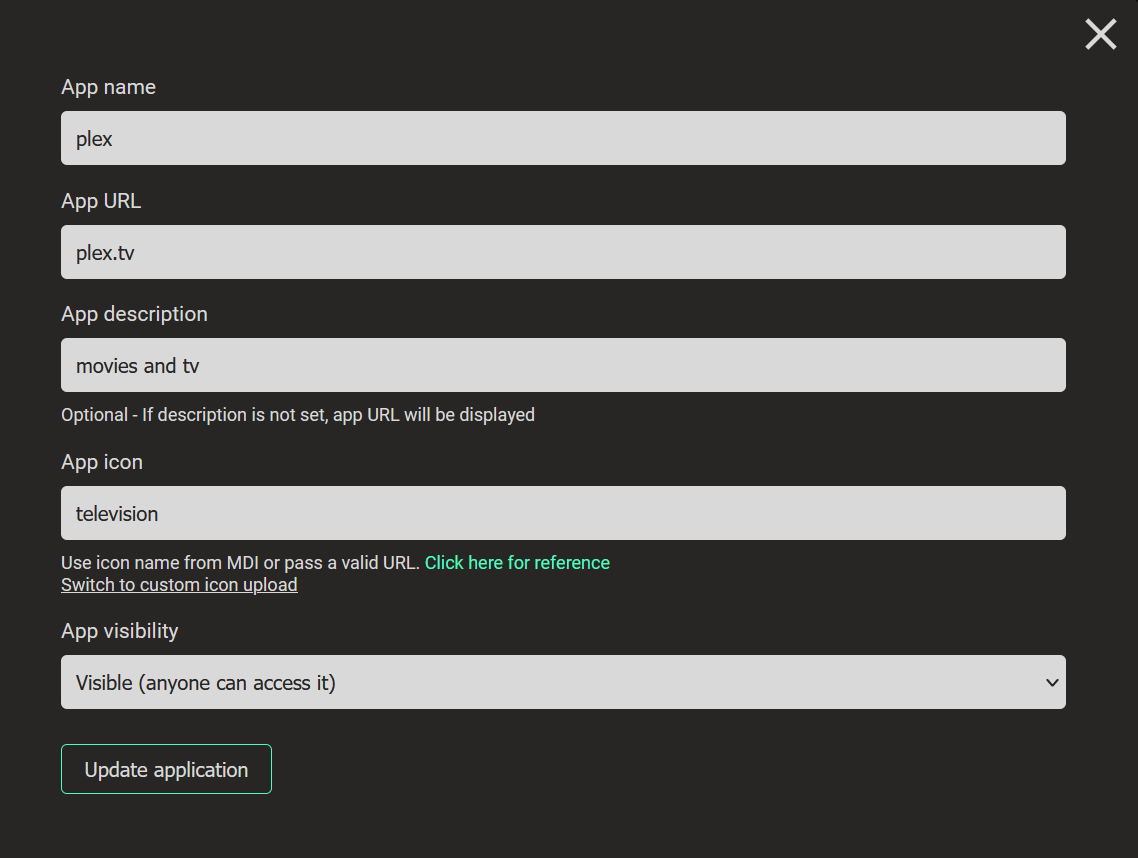
You can set all these fields up however you want. One thing I like is the icons option (using MDI like I mentioned above), it feels like a simple way to make this your own. Here's how this application would look using the "television" icon.

Add as many apps as you want in addition to Bookmarks (to idk, maybe your favorite homelab blog?) and you've got a beautiful, simple startpage for your homelab. Since this is similar to SUI I won't bore you with my final dashboard. Side note, this one has a weather widget - check it out.
Heimdall
If you've researched the best homepages anytime in the past few years, you'll see that lots of people have been using Heimdall. I've avoided it, partly because of it's popularity but also partly because the look of it isn't really my vibe. I think it's time to find out what all the hype is about.
Install
I'm going to create another directory here/home/docker/heimdall and run the following command to install Heimdall.
sudo docker run --name=heimdall -d -v /home/kodestar/docker/heimdall:/config -e PGID=1000 -e PUID=1000 -p 8080:80 -p 8443:443 linuxserver/heimdallGoing to localhost:8080 will take you to this very ominous photo of a hot air balloon getting lost forever over the ocean.
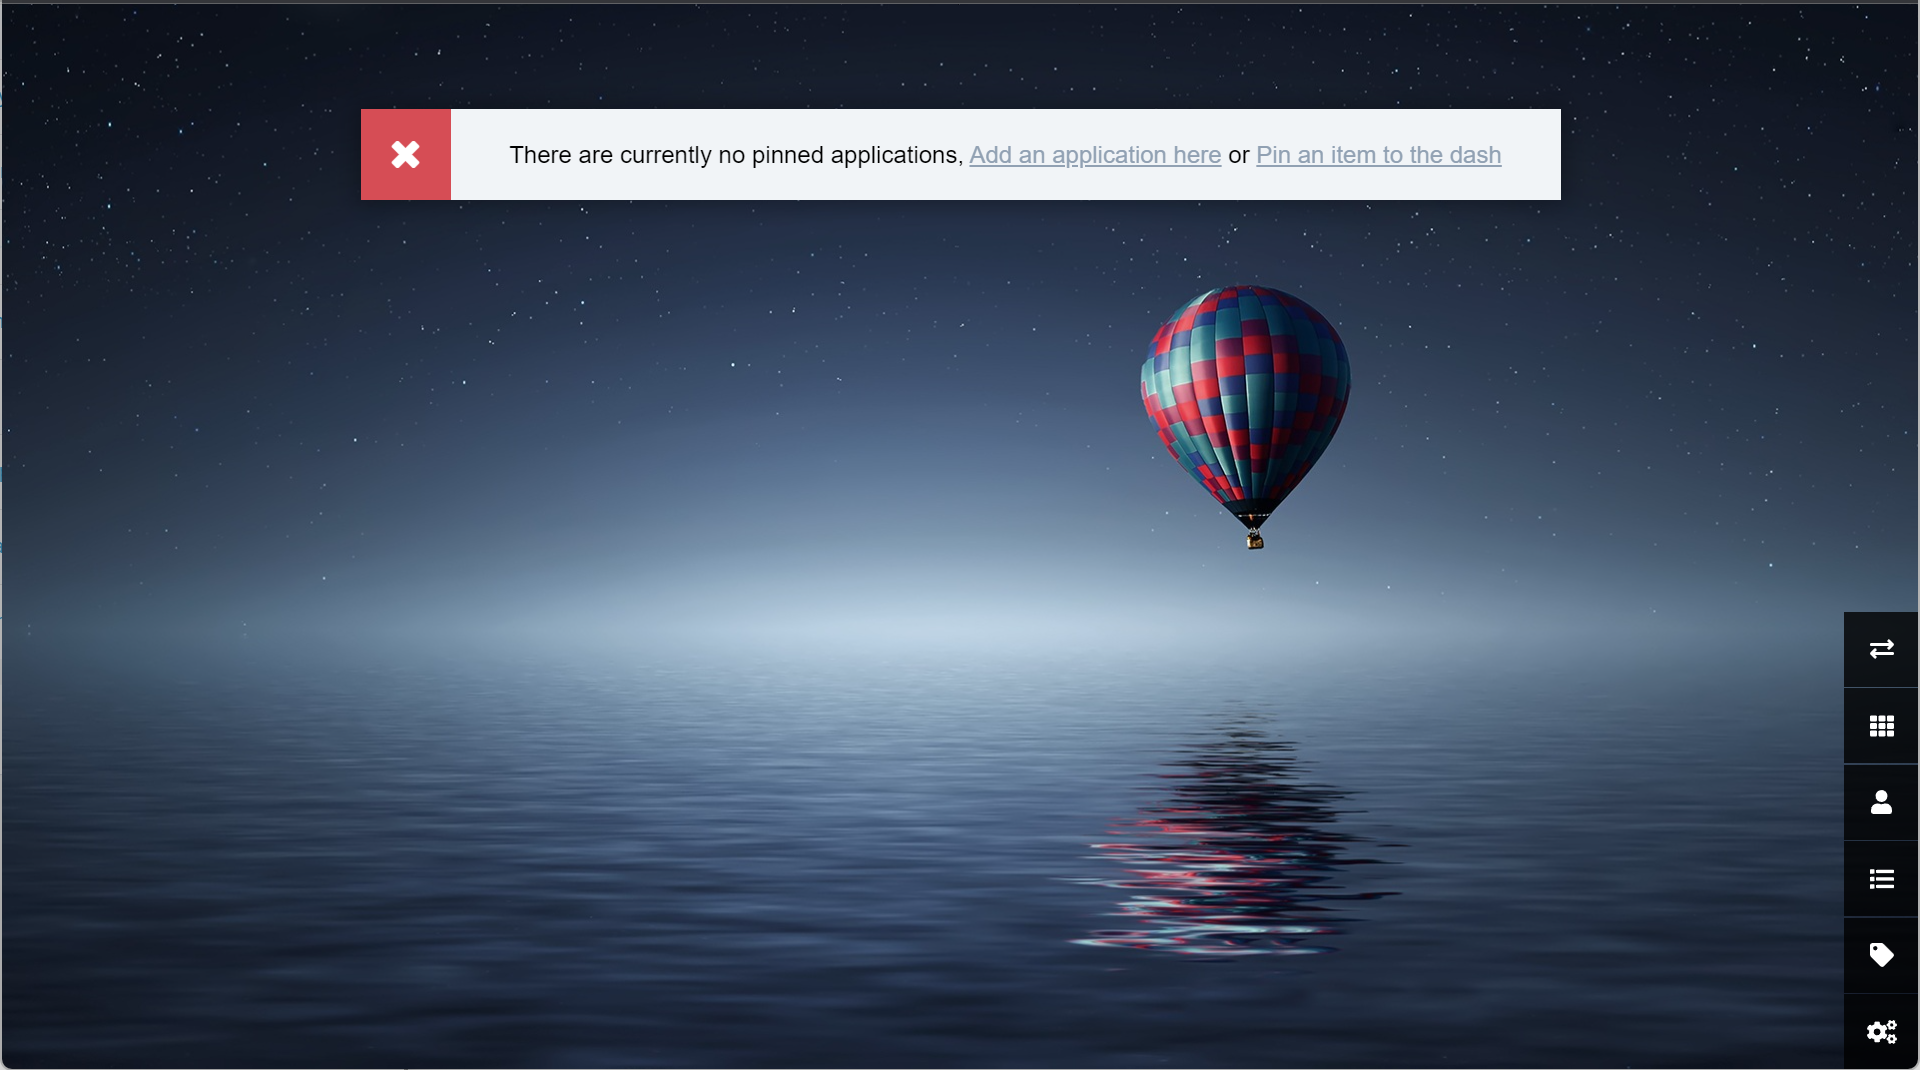
Config
There's a little button that says "Add an application here", so I'm gunna click that without reading the documentation and let Heimdall sweep me away. Clicking that link brings up this dialog.
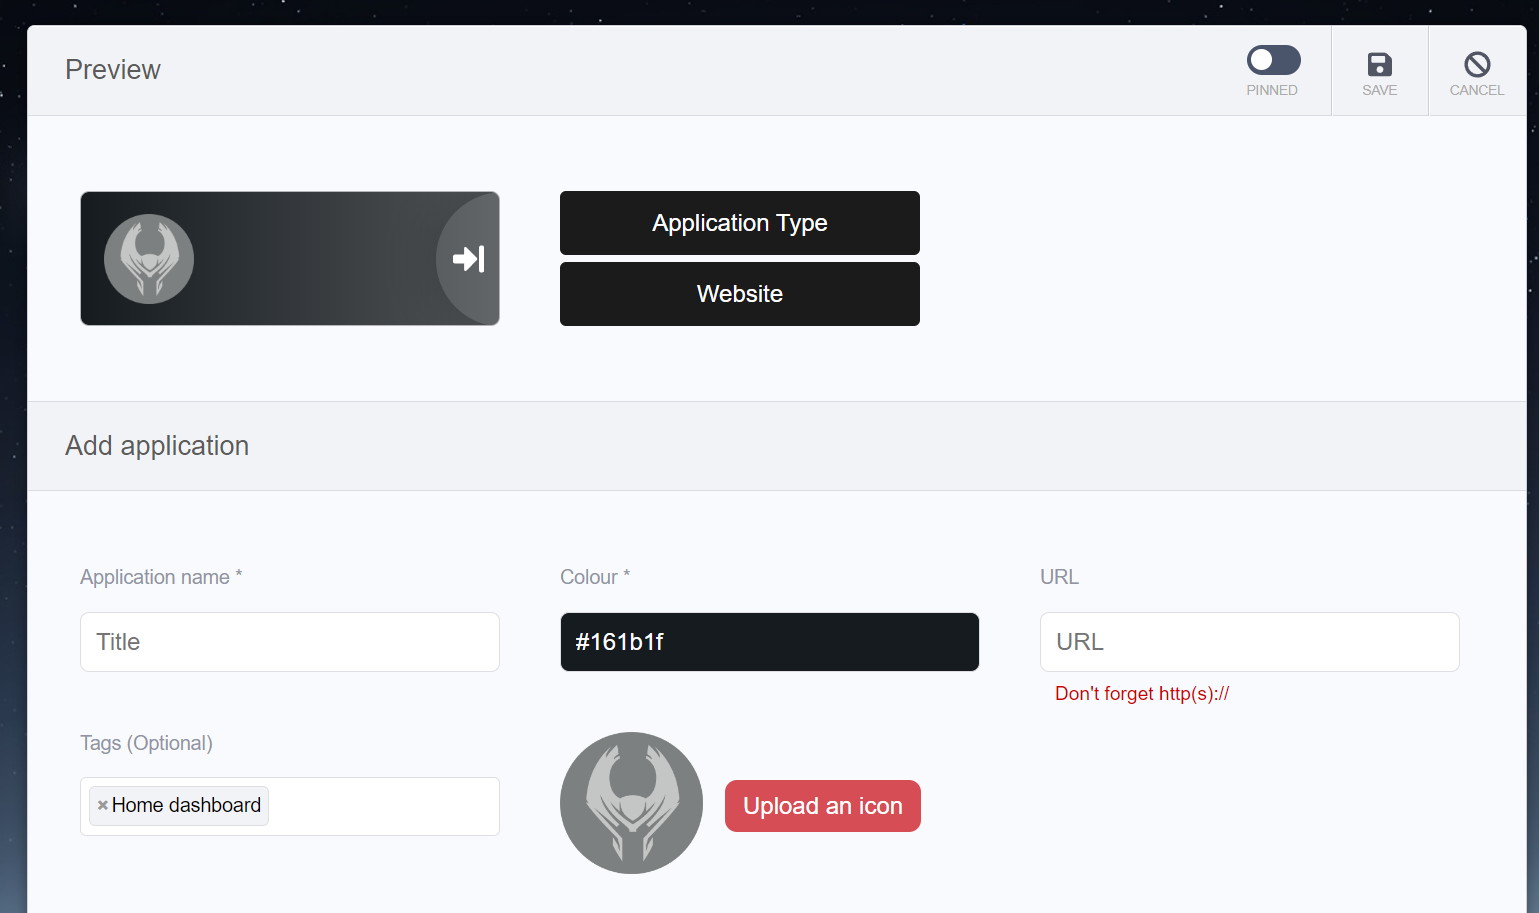
Choosing "Application Type" allows you to pick from a gigantic list of services that are pre-built and changes the button to match that service. Here are some examples.


Again, these are templates so you can change the color, icon, text, URL, etc. if you don't like the template. If the app you're adding is classified as an "Enhanced App" it will likely have another section below called "Config" that allows you to integrate your services with Heimdall via username and password or API. Here's a good example with the Speedtest Tracker integration as it's showing the current download speed it's getting.
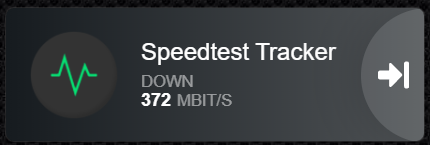
Probably one of my favorite things is that the services are drag-and-droppable once you add them to the dashboard. Fancy a change? Just click "Reorder and pin items" in the bottom right hand corner and you can move them around without ever having to touch a yaml file.
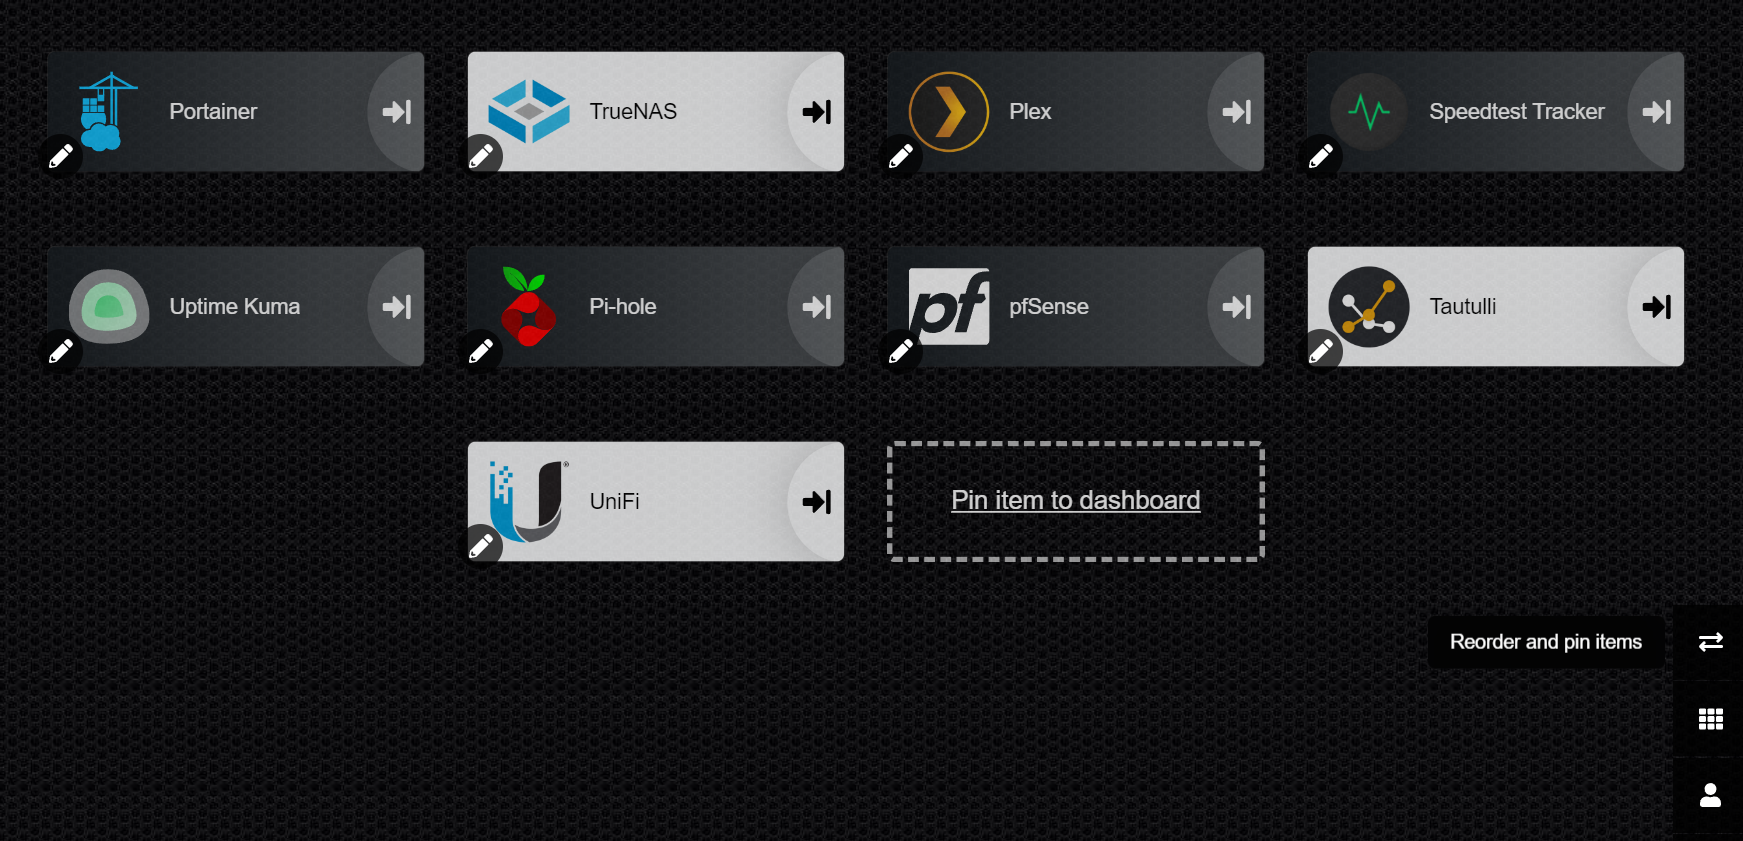
I changed up my background to something less busy under Settings > Appearance, and here's my final Heimdall dashboard.
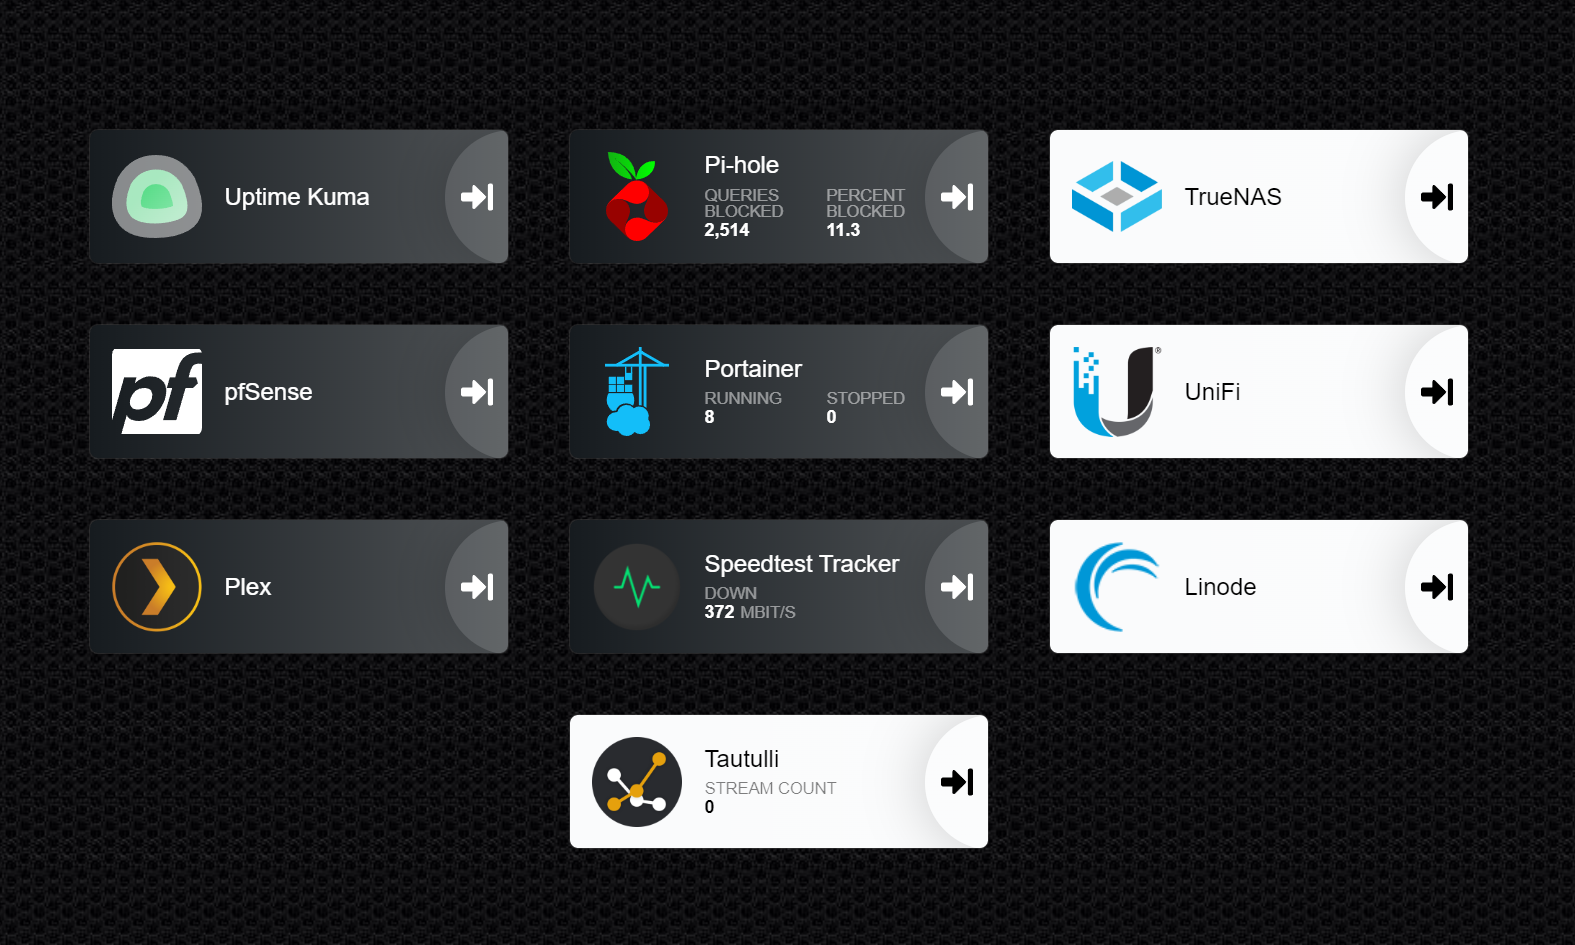
I will say, I judged Heimdall too soon. The integrations are pretty extensive and it's really quite delightful to use.
Homepage
From what I see, Homepage gets lots of the attention in the homelab space recently - and for good reason. Clean look, easy to configure via YAML file, and lots of integrations to make your installation shine.
Install
Setting this up is a breeze using Docker Compose...
version: "3.3"
services:
  homepage:
    image: ghcr.io/benphelps/homepage:latest
    container_name: homepage
    ports:
      - 3000:3000
    volumes:
      - /path/to/config:/app/config # Make sure your local config directory exists
      - /var/run/docker.sock:/var/run/docker.sock:ro # (optional) For docker integrations
or Docker Run.
docker run -p 3000:3000 -v /path/to/config:/app/config -v /var/run/docker.sock:/var/run/docker.sock ghcr.io/benphelps/homepage:latestConfig
When you're done, go to localhost:3000 and you're greeted with a fresh Hompage.
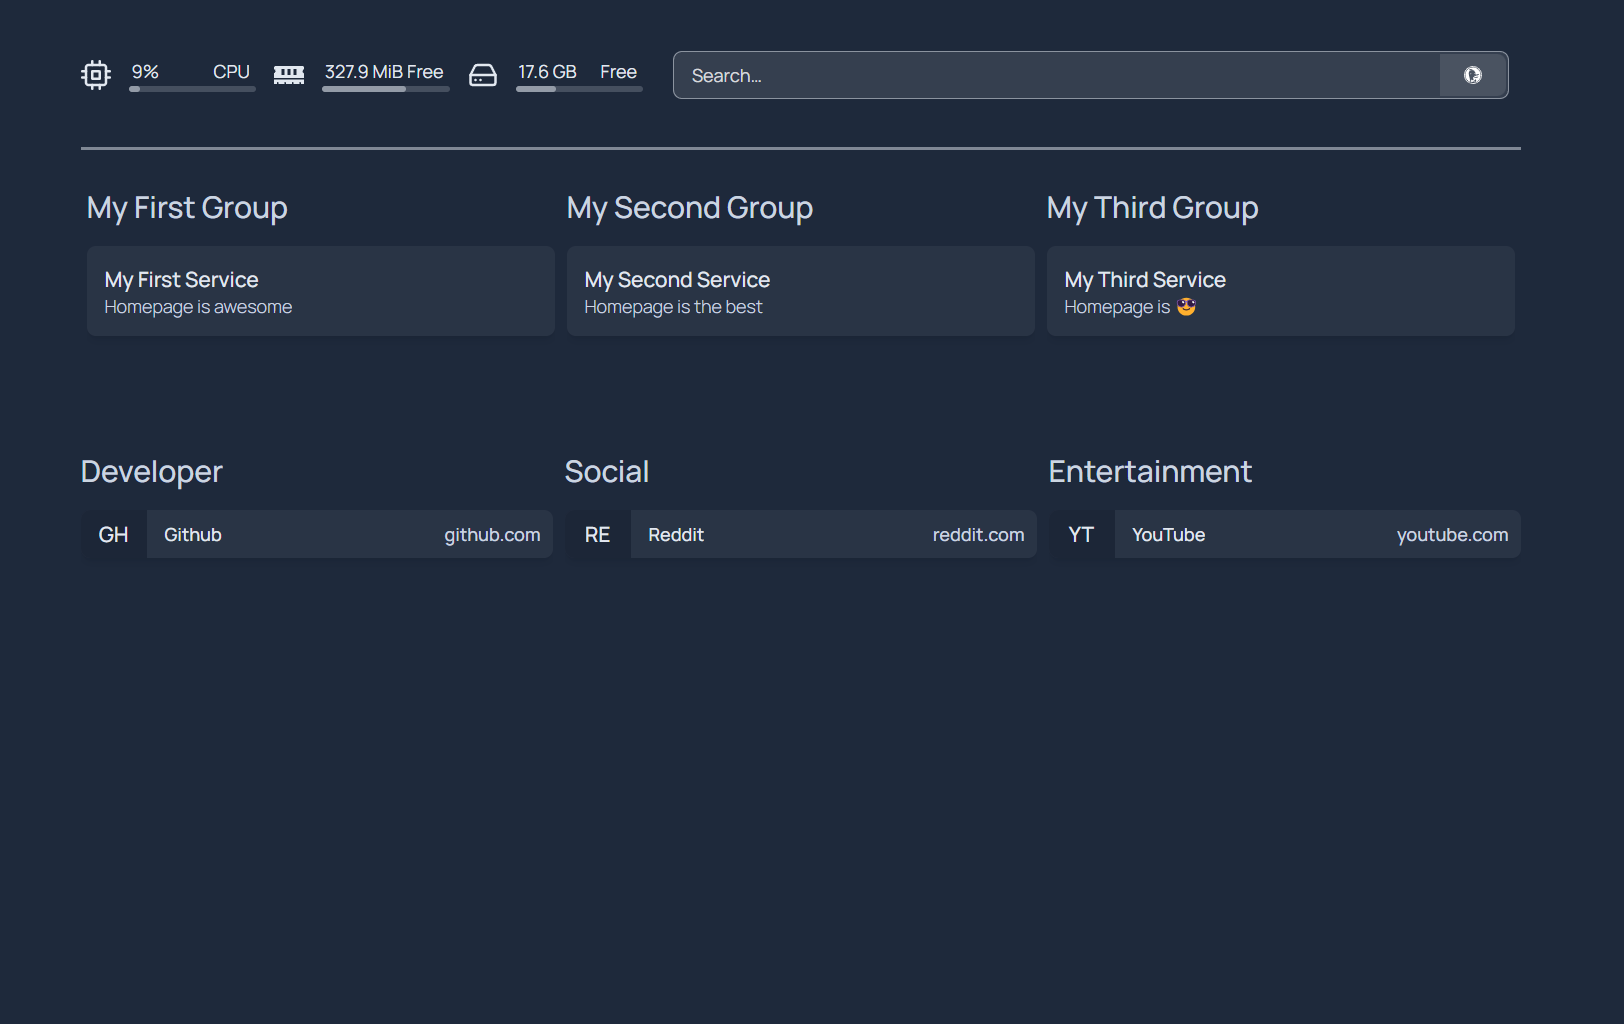
Now, the extensibility of this app is what makes it really cool, and if you'd like to see the integrations/configurations they support check it out here:

Like this documentation says, we need to configure our services.yml file (located at /path/to/config/) in order to add our services and configure the page how we want.
Homepage is split into four main categories, the first two of them look familiar.
Bookmarks are exactly like you'd expect bookmarks to be, static links.
Services are the actual services you want to link to and can have properties attached to them like a description, icon, Docker integration, or ping.
Adding properties, such as ping or description, is as easy as nesting them under the service they're connected to.
- Network Services:
    - Service A:
        href: http://IPADDRESS/
        ping: http://IPADDRESS

    - Service B:
        href: http://IPADDRESS/
        description: my docker host
You can set up Information Widgets, which are the pieces of info like CPU and Disk space that show up next to the search bar at the top. The few options here are pretty cool - things like the weather, Unifi Controller stats, Kubernetes resources, or a custom logo. Look into these on your own.
You can also set up a Service Widget which is an integration (usually API) designed for that specific service.
The possibilities inside Service Widgets are really quite impressive, most common services have some kind of API integration for you to pull in lots of really helpful info right onto your homepage. I left out a ton of integrations that you can set up, the list is extensive.
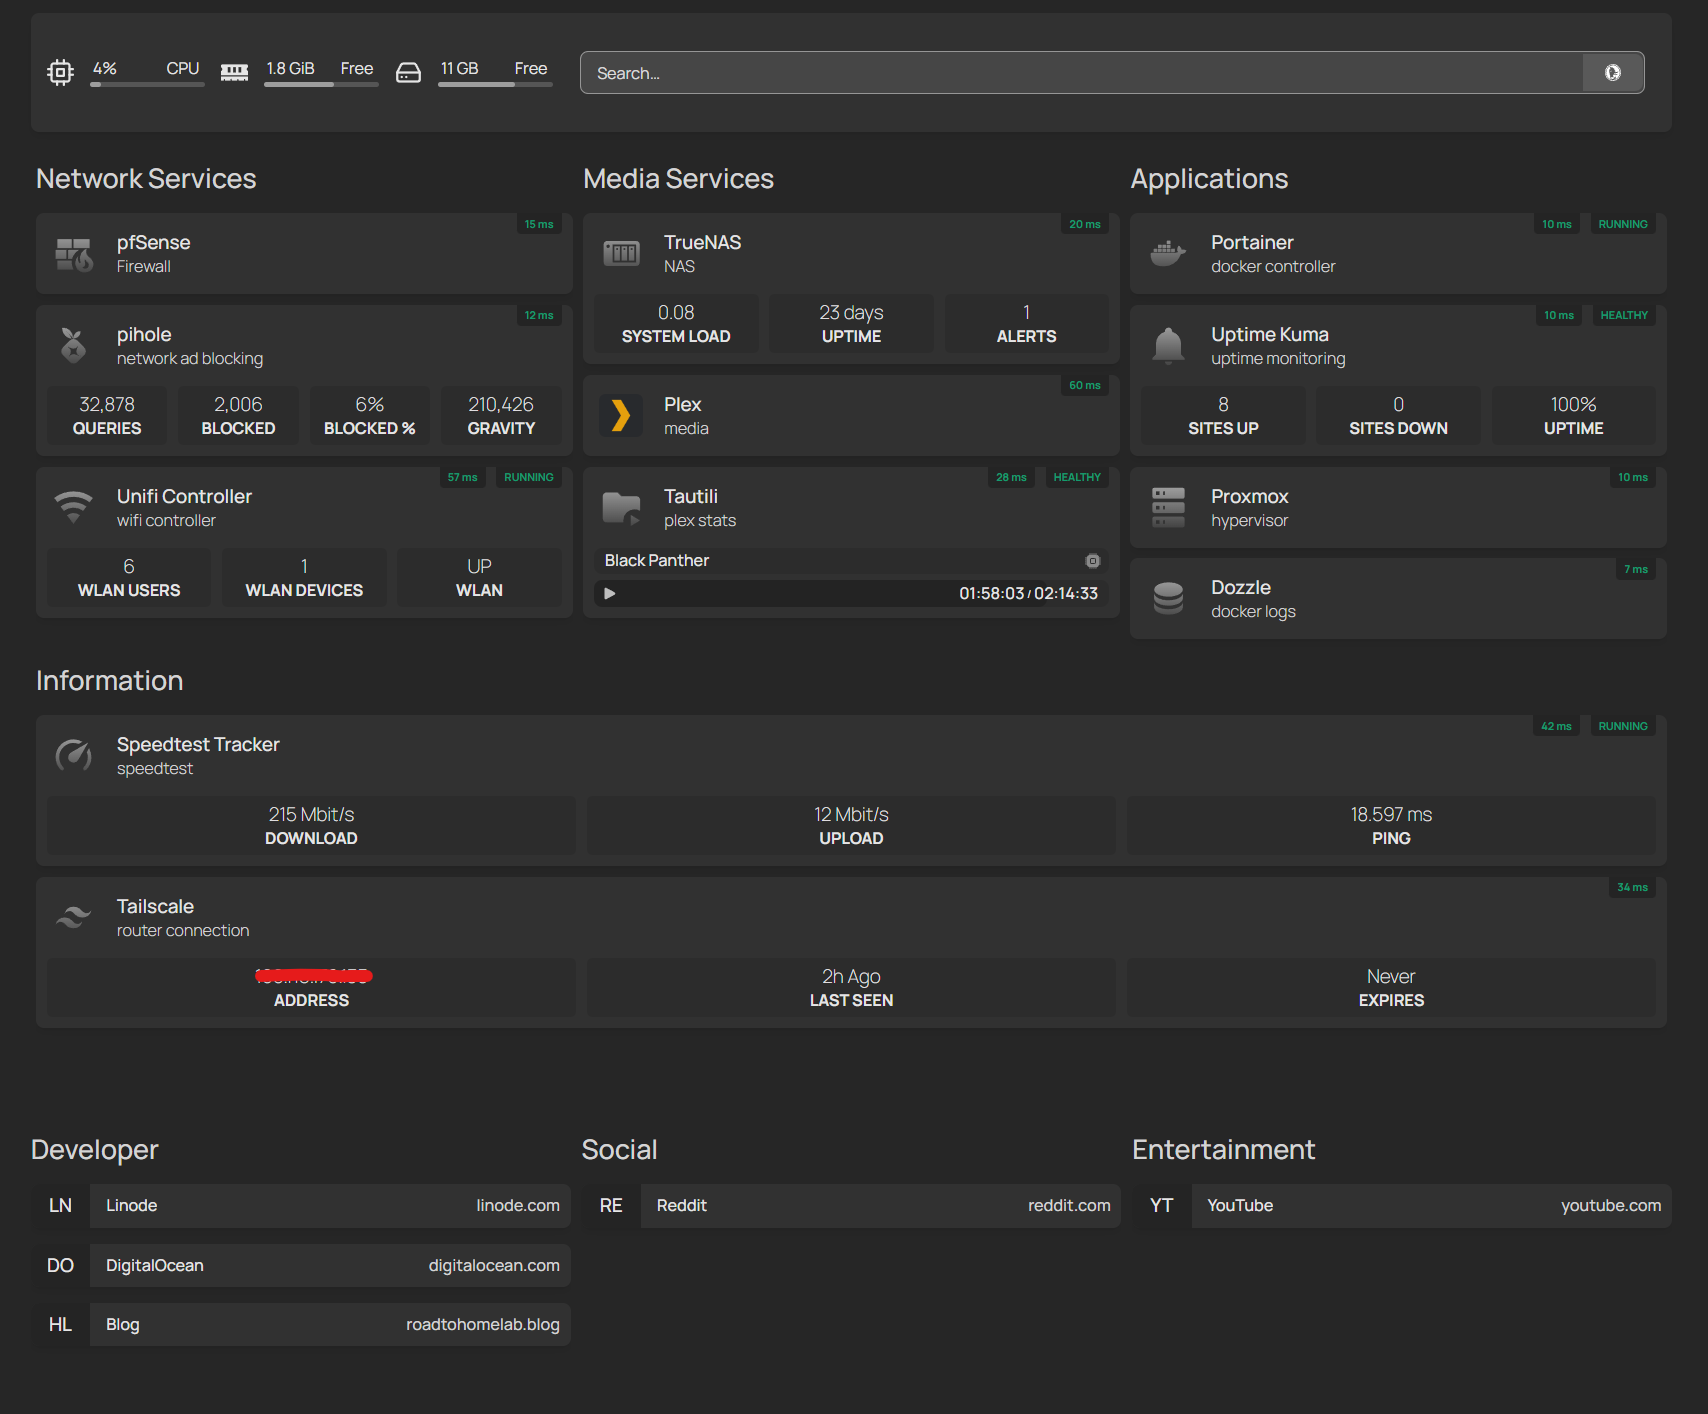
Here's my "final" dashboard! I'm a big fan of the look of Homepage.
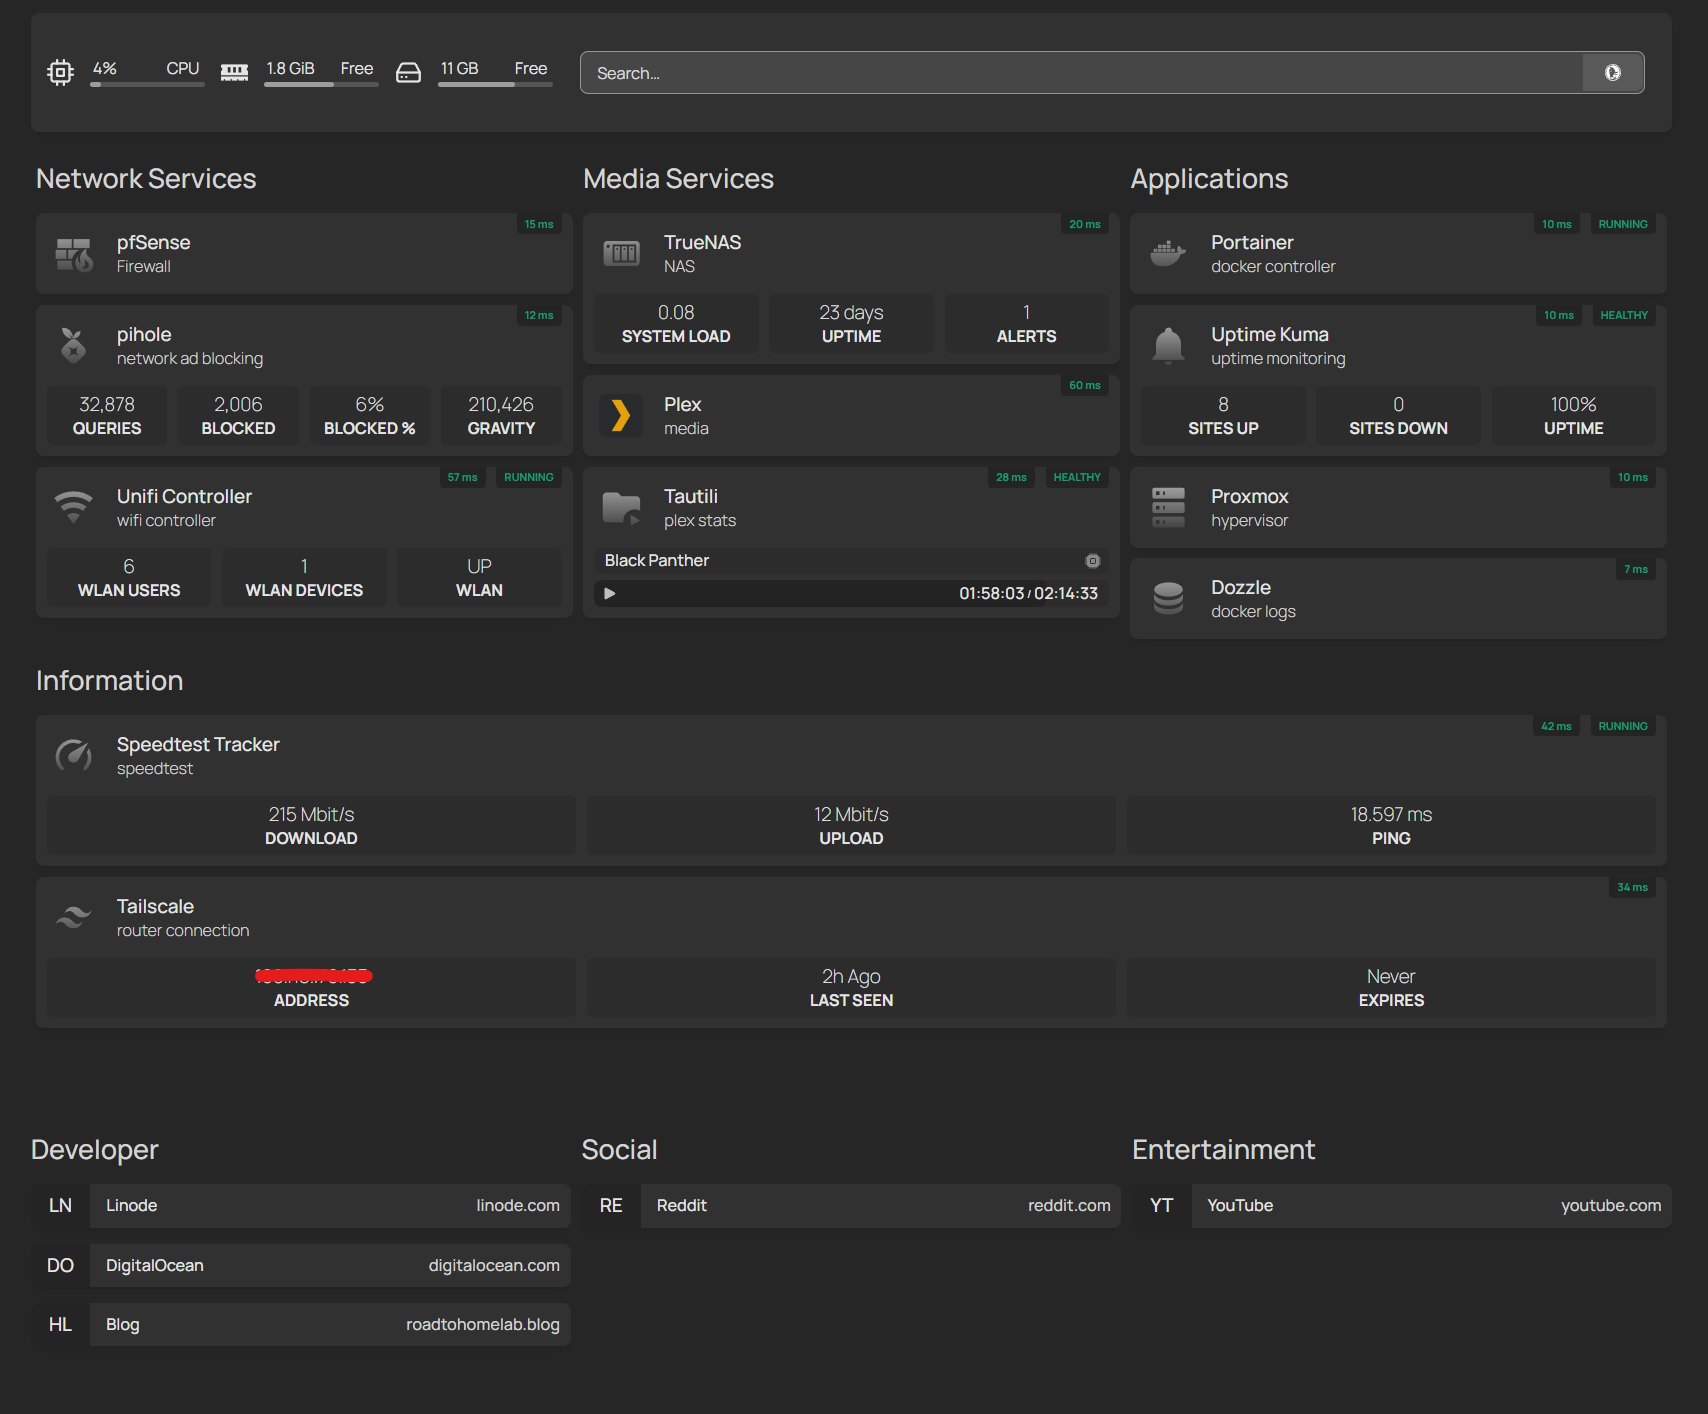
Here's my complete services.yml file. You can find all the info about setting up corresponding APIs in the link I added below my file.
- Network Services:
    - pfSense:
        icon: mdi-wall-fire
        href: http://IPADDRESS
        description: Firewall
        ping: http://IPADDRESS
    - pihole:
        icon: mdi-pi-hole
        href: http://IPADDRESS
        description: network ad blocking
        ping: http://IPADDRESS
        widget:
            type: pihole
            url: http://IPADDRESS
            key: APIKEY
    - Unifi Controller:
        icon: mdi-wifi
        href: https://IPADDRESS
        description: wifi controller
        ping: https://IPADDRESS
        container: unifi-controller
        widget:
            type: unifi
            url: https://IPADDRESS
            username: username
            password: password

- Media Services:
    - TrueNAS:
        icon: mdi-nas
        href: http://IPADDRESS
        description: NAS
        ping: http://IPADDRESS
        widget:
          type: truenas
          url: http://IPADDRESS
          username:
          password:
          key: APIKEY
    - Plex:
        icon: plex
        href: http://IPADDRESS
        description: media
        ping: https://IPADDRESS
    - Tautili:
        icon: mdi-folder-play
        href: http://IPADDRESS
        description: plex stats
        ping: http://IPADDRESS
        container: tautulli
        widget:
          type: tautulli
          url: http://IPADDRESS
          key: APIKEY

- Applications:
    - Portainer:
        icon: mdi-docker
        href: http://IPADDRESS
        description: docker controller
        ping: http://IPADDRESS
        container: portainer
    - Uptime Kuma:
        icon: mdi-bell
        href: http://IPADDRESS
        description: uptime monitoring
        ping: http://IPADDRESS
        container: uptime-kuma
        widget:
          type: uptimekuma
          url: http://IPADDRESS
          slug: SLUG
    - Proxmox:
        icon:  mdi-server
        href: https://IPADDRESS
        description: hypervisor
        ping: https://IPADDRESS
    - Dozzle:
        icon: mdi-database
        href: http://IPADDRESS
        description: docker logs
        ping: http://IPADDRESS

- Information:
    - Speedtest Tracker:
        icon: mdi-speedometer
        href: http://IPADDRESS
        description: speedtest
        ping: http://IPADDRESS
        container: speedtest
        widget:
            type: speedtest
            url: http://IPADDRESS
    - Tailscale:
        icon: mdi-tailwind
        href: https://tailscale.com
        description: router connection
        ping: https://tailscale.com
        widget:
            type: tailscale
            deviceid: DEVICEID
            key: APIKEY
I couldn't get the Portainer widget working, but I'm guessing it's something on my end. Homepage is a special one. I think the devs did a fantastic job adding integrations to really make Homepage stand out from competitors.
Homer
Homer is a nice option for hosting a server homepage. It's somewhere in the middle of simple and complex to setup, with a simple and kind of cartoon-ish look and feel overall.
Install
Using Docker Compose...
version: "2"
services:
  homer:
    image: b4bz/homer
    #To build from source, comment previous line and uncomment below
    #build: .
    container_name: homer
    volumes:
      - /your/local/assets/:/www/assets
    ports:
      - 8080:8080
    user: 1000:1000 # default
    environment:
      - INIT_ASSETS=1 # default
or Docker run you can get started quickly.
docker run -d \
  -p 8080:8080 \
  -v </your/local/assets/>:/www/assets \
  --restart=always \
  b4bz/homer:latest
Config
Homer will then be accessible from localhost:8080.
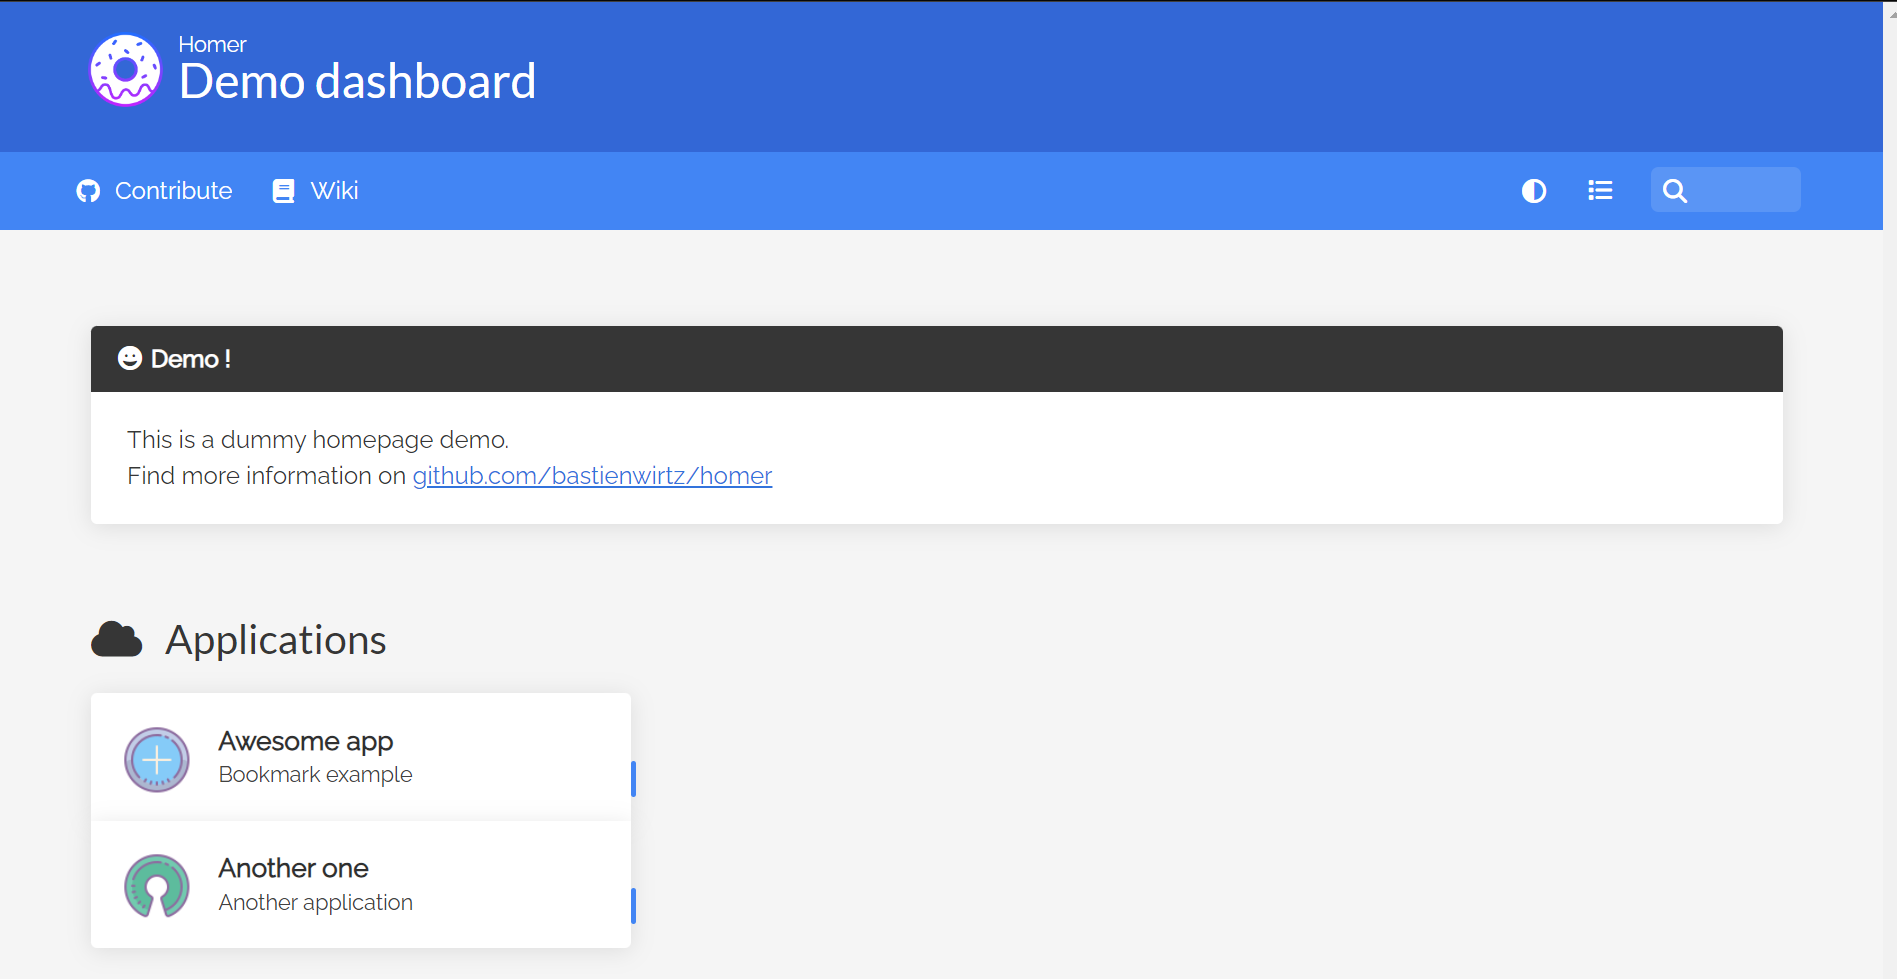
Homer is customizable via editing the assets/config.yml file. Here's a snippet of what we'd need to edit to customize our homepage. Similar to Homepage above, you can group services into categories based on their function.
  - name: "Group 1"
    icon: "fas fa-code-branch"
    items:
      - name: "Application 1"
        logo: "assets/tools/sample.png"
        subtitle: "Bookmark example"
        tag: "app"
        keywords: "self hosted reddit"
        url: "https://www.reddit.com/r/selfhosted/"
        target: "_blank" # optional html tag target attribute

      - name: "Application 2"
        logo: "assets/tools/sample2.png"
        subtitle: "Another application"
        tag: "app"
        tagstyle: "is-success"
        url: "#"
You'll need to go through and add services (including any custom services), change names, links, etc. in addition to any icons you'd like to use. Here's the final look of my page.
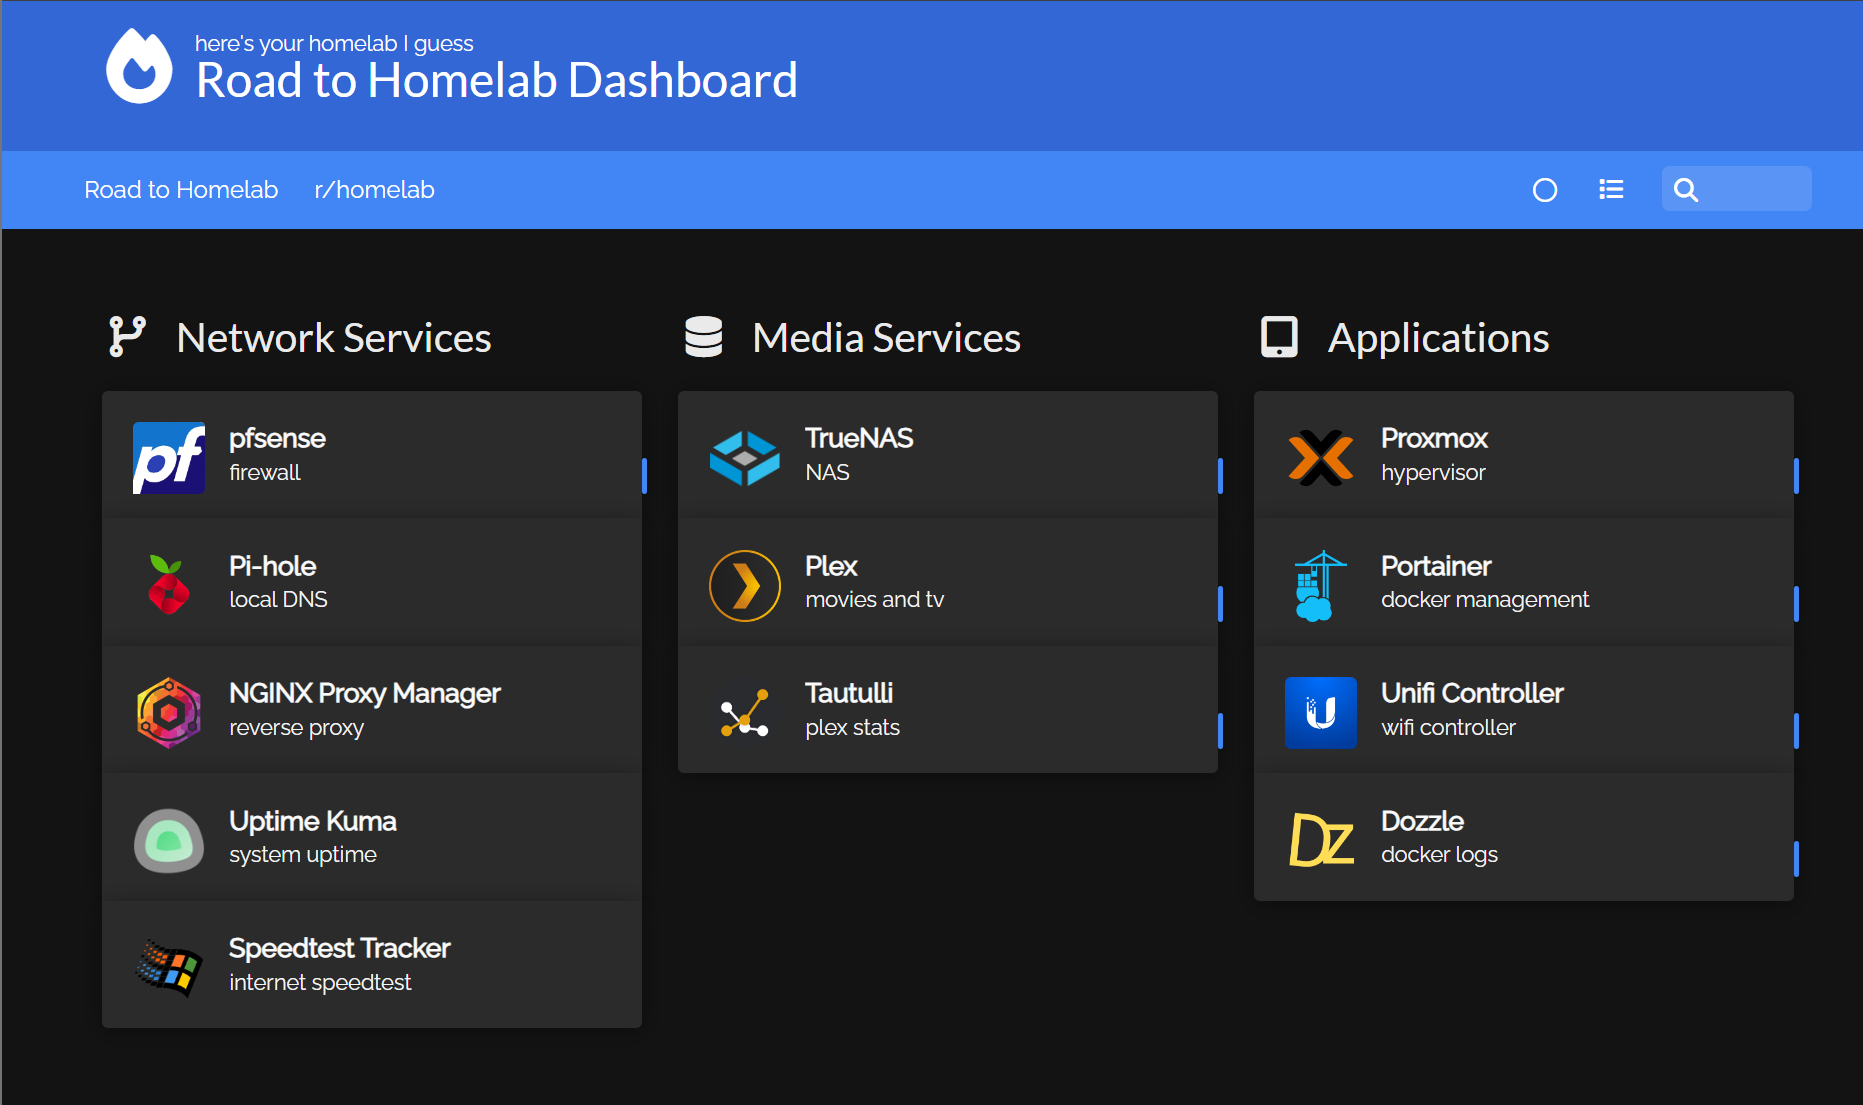
If you want a starting point, here's the "services" section of my configuration file.
services:
  - name: "Network Services"
    icon: "fas fa-code-branch"
    items:
      - name: "pfsense"
        logo: "https://github.com/NX211/homer-icons/blob/master/png/pfsense.png?raw=true"
        subtitle: "firewall"
        tag: "app"
        url: "https://IPADDRESS"
      - name: "Pi-hole"
        logo: "https://github.com/NX211/homer-icons/blob/master/png/pihole.png?raw=true"
        subtitle: "local DNS"
        url: "http://IPADDRESS"
      - name: "NGINX Proxy Manager"
        logo: "https://github.com/NX211/homer-icons/blob/master/png/nginxproxymanager.png?raw=true"
        subtitle: "reverse proxy"
        url: "http://IPADDRESS"
      - name: "Uptime Kuma"
        logo: "https://github.com/NX211/homer-icons/blob/master/png/uptimekuma.png?raw=true"
        subtitle: "system uptime"
        url: "http://IPADDRESS"
      - name: "Speedtest Tracker"
        logo: "https://github.com/NX211/homer-icons/blob/master/png/windows98.png?raw=true"
        subtitle: "internet speedtest"
        url: "http://IPADDRESS"
  - name: "Media Services"
    icon: "fas fa-database"
    items:
      - name: "TrueNAS"
        logo: "https://github.com/NX211/homer-icons/blob/master/png/truenas.png?raw=true"
        subtitle: "NAS"
        url: "https://IPADDRESS"
      - name: "Plex"
        logo: "https://github.com/NX211/homer-icons/blob/master/png/plex.png?raw=true"
        subtitle: "movies and tv"
        url: "https://plex.tv"
      - name: "Tautulli"
        logo: "https://github.com/NX211/homer-icons/blob/master/png/tautulli.png?raw=true"
        subtitle: "plex stats"
        url: "http://IPADDRESS"
  - name: "Applications"
    icon: "fas fa-tablet-screen-button"
    items:
      - name: "Proxmox"
        logo: "https://github.com/NX211/homer-icons/blob/master/png/proxmox.png?raw=true"
        subtitle: "hypervisor"
        tag: "other"
        url: "http://IPADDRESS"
      - name: "Portainer"
        logo: "https://github.com/NX211/homer-icons/blob/master/png/portainer.png?raw=true"
        subtitle: "docker management"
        tag: "other"
        url: "http://IPADDRESS"
      - name: "Unifi Controller"
        logo: "https://github.com/NX211/homer-icons/blob/master/png/unifi.png?raw=true"
        subtitle: "wifi controller"
        tag: "other"
        url: "http://IPADDRESS"
      - name: "Dozzle"
        logo: "https://github.com/NX211/homer-icons/blob/master/png/dozzle.png?raw=true"
        subtitle: "docker logs"
        tag: "other"
        url: "http://IPADDRESS"
Homer also has widgets you can set up, check out their documentation. I like that you can use icons and images next to your services and links to make Homer unique, in addition to picking your own hex colors to change the theme however you want.
Dashy
Dashy is the most unique option I'll be going over today - the style it's designed with is noticeably different than the rest.
Install
Dashy has a lot of install options, I recommend you read through their deployment page.
If you want to go the Docker Compose route like me, here you go,
version: "3.8"
services:
  dashy:
    # To build from source, replace 'image: lissy93/dashy' with 'build: .'
    # build: .
    image: lissy93/dashy
    container_name: Dashy
    # Pass in your config file below, by specifying the path on your host machine
    volumes:
      - /home/docker/dashy/my-config.yml:/app/public/conf.yml
    ports:
      - 4000:80
    # Set any environmental variables
    environment:
      - NODE_ENV=production
    # Specify your user ID and group ID. You can find this by running `id -u` and `id -g`
    #  - UID=1000
    #  - GID=1000
    # Specify restart policy
    restart: unless-stopped
    # Configure healthchecks
    healthcheck:
      test: ['CMD', 'node', '/app/services/healthcheck']
      interval: 1m30s
      timeout: 10s
      retries: 3
      start_period: 40s
Note: I premade a config file just so I knew where it was, you don't have to do this.
Config
Dashy is accessible via localhost:8080.
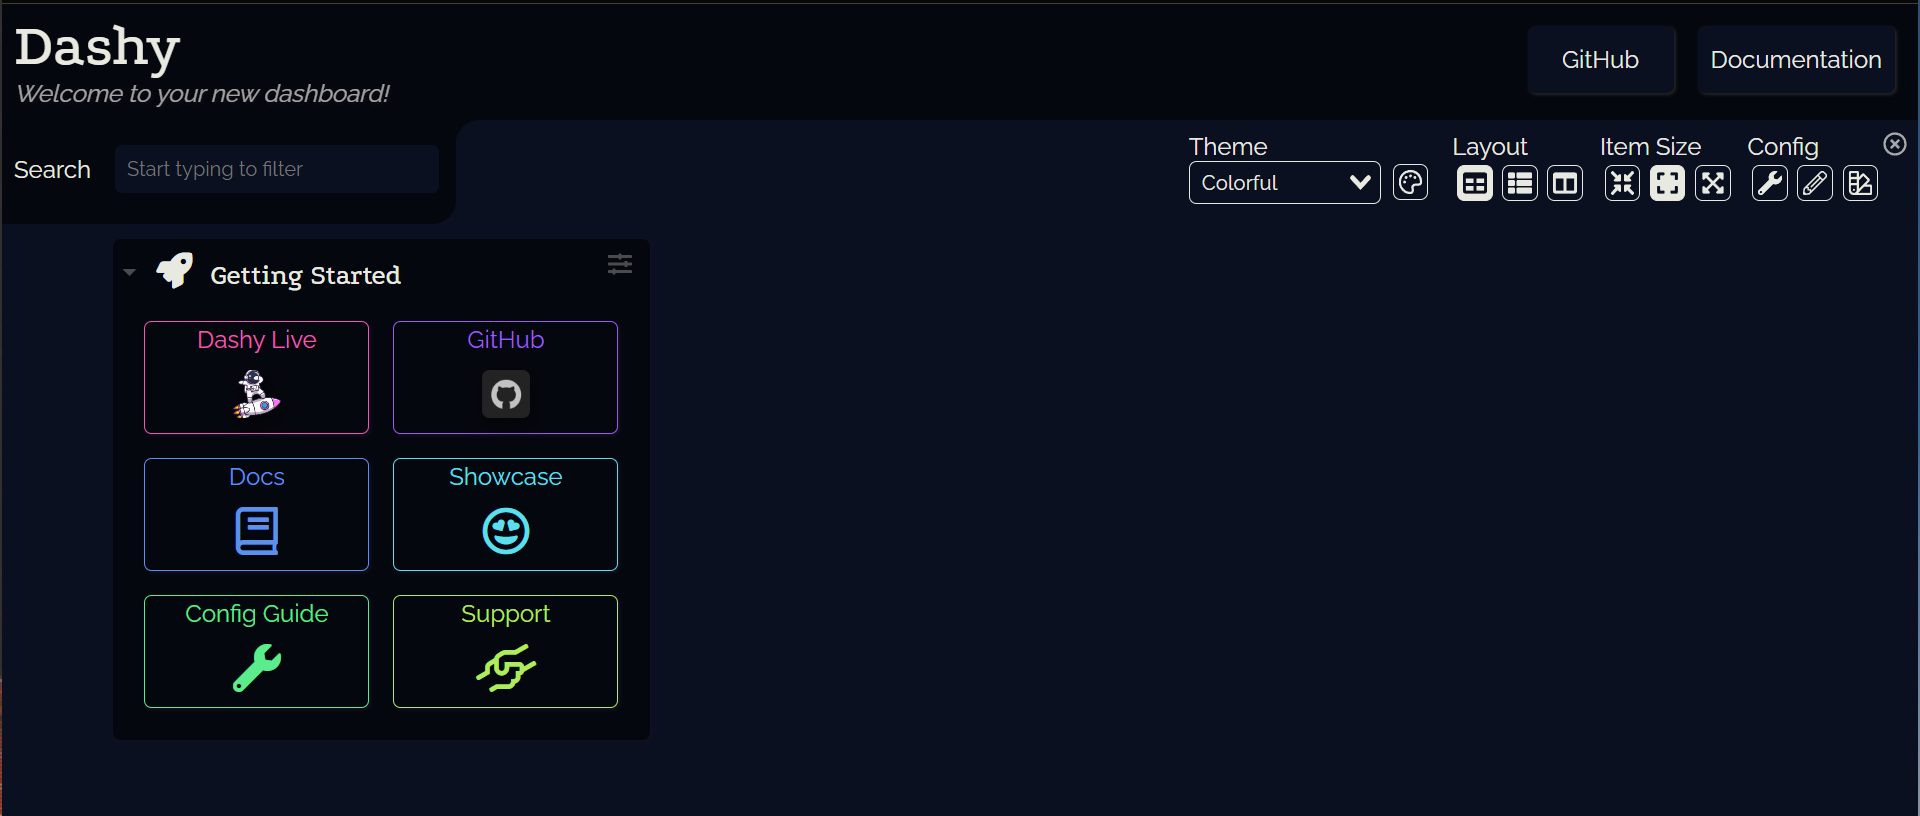
I'll just say this, Dashy is powerful. I highly recommend you read the configuration guide below to get more infor about the 3 ways to configure Dashy.
The three options to configure it are:
- Directly in the YAML file (5/5 reliability, 3/5 usability)
- UI JSON Editor (4/5 reliability, 4/5 usability)
- UI Visual Editor (3/5 reliability, 5/5 usability)
I'm going to be setting mine up directly through the YAML file since that's what I'm most comfortable with, but you're welcome to do it however you see fit. I could spend a lot of time talking about all the cool ways to configure Dashy. There are some really creative general widgets (like weather, sports scores, crypto prices, flight trackers, etc.) and even more if you've got some services self-hosted.
From what I can tell, Dashy becomes really powerful once you use it with Glances.

This is something I'm not currently hosting, but it's the way to display tons of graphs and visual data about your system. If you're interested in running Dashy and would like to use it to it's full potential, I recommend getting Glances as well.
One of my favorite parts of Dashy is the theme options, knock yourself out.
Here's what I ultimately came up with.
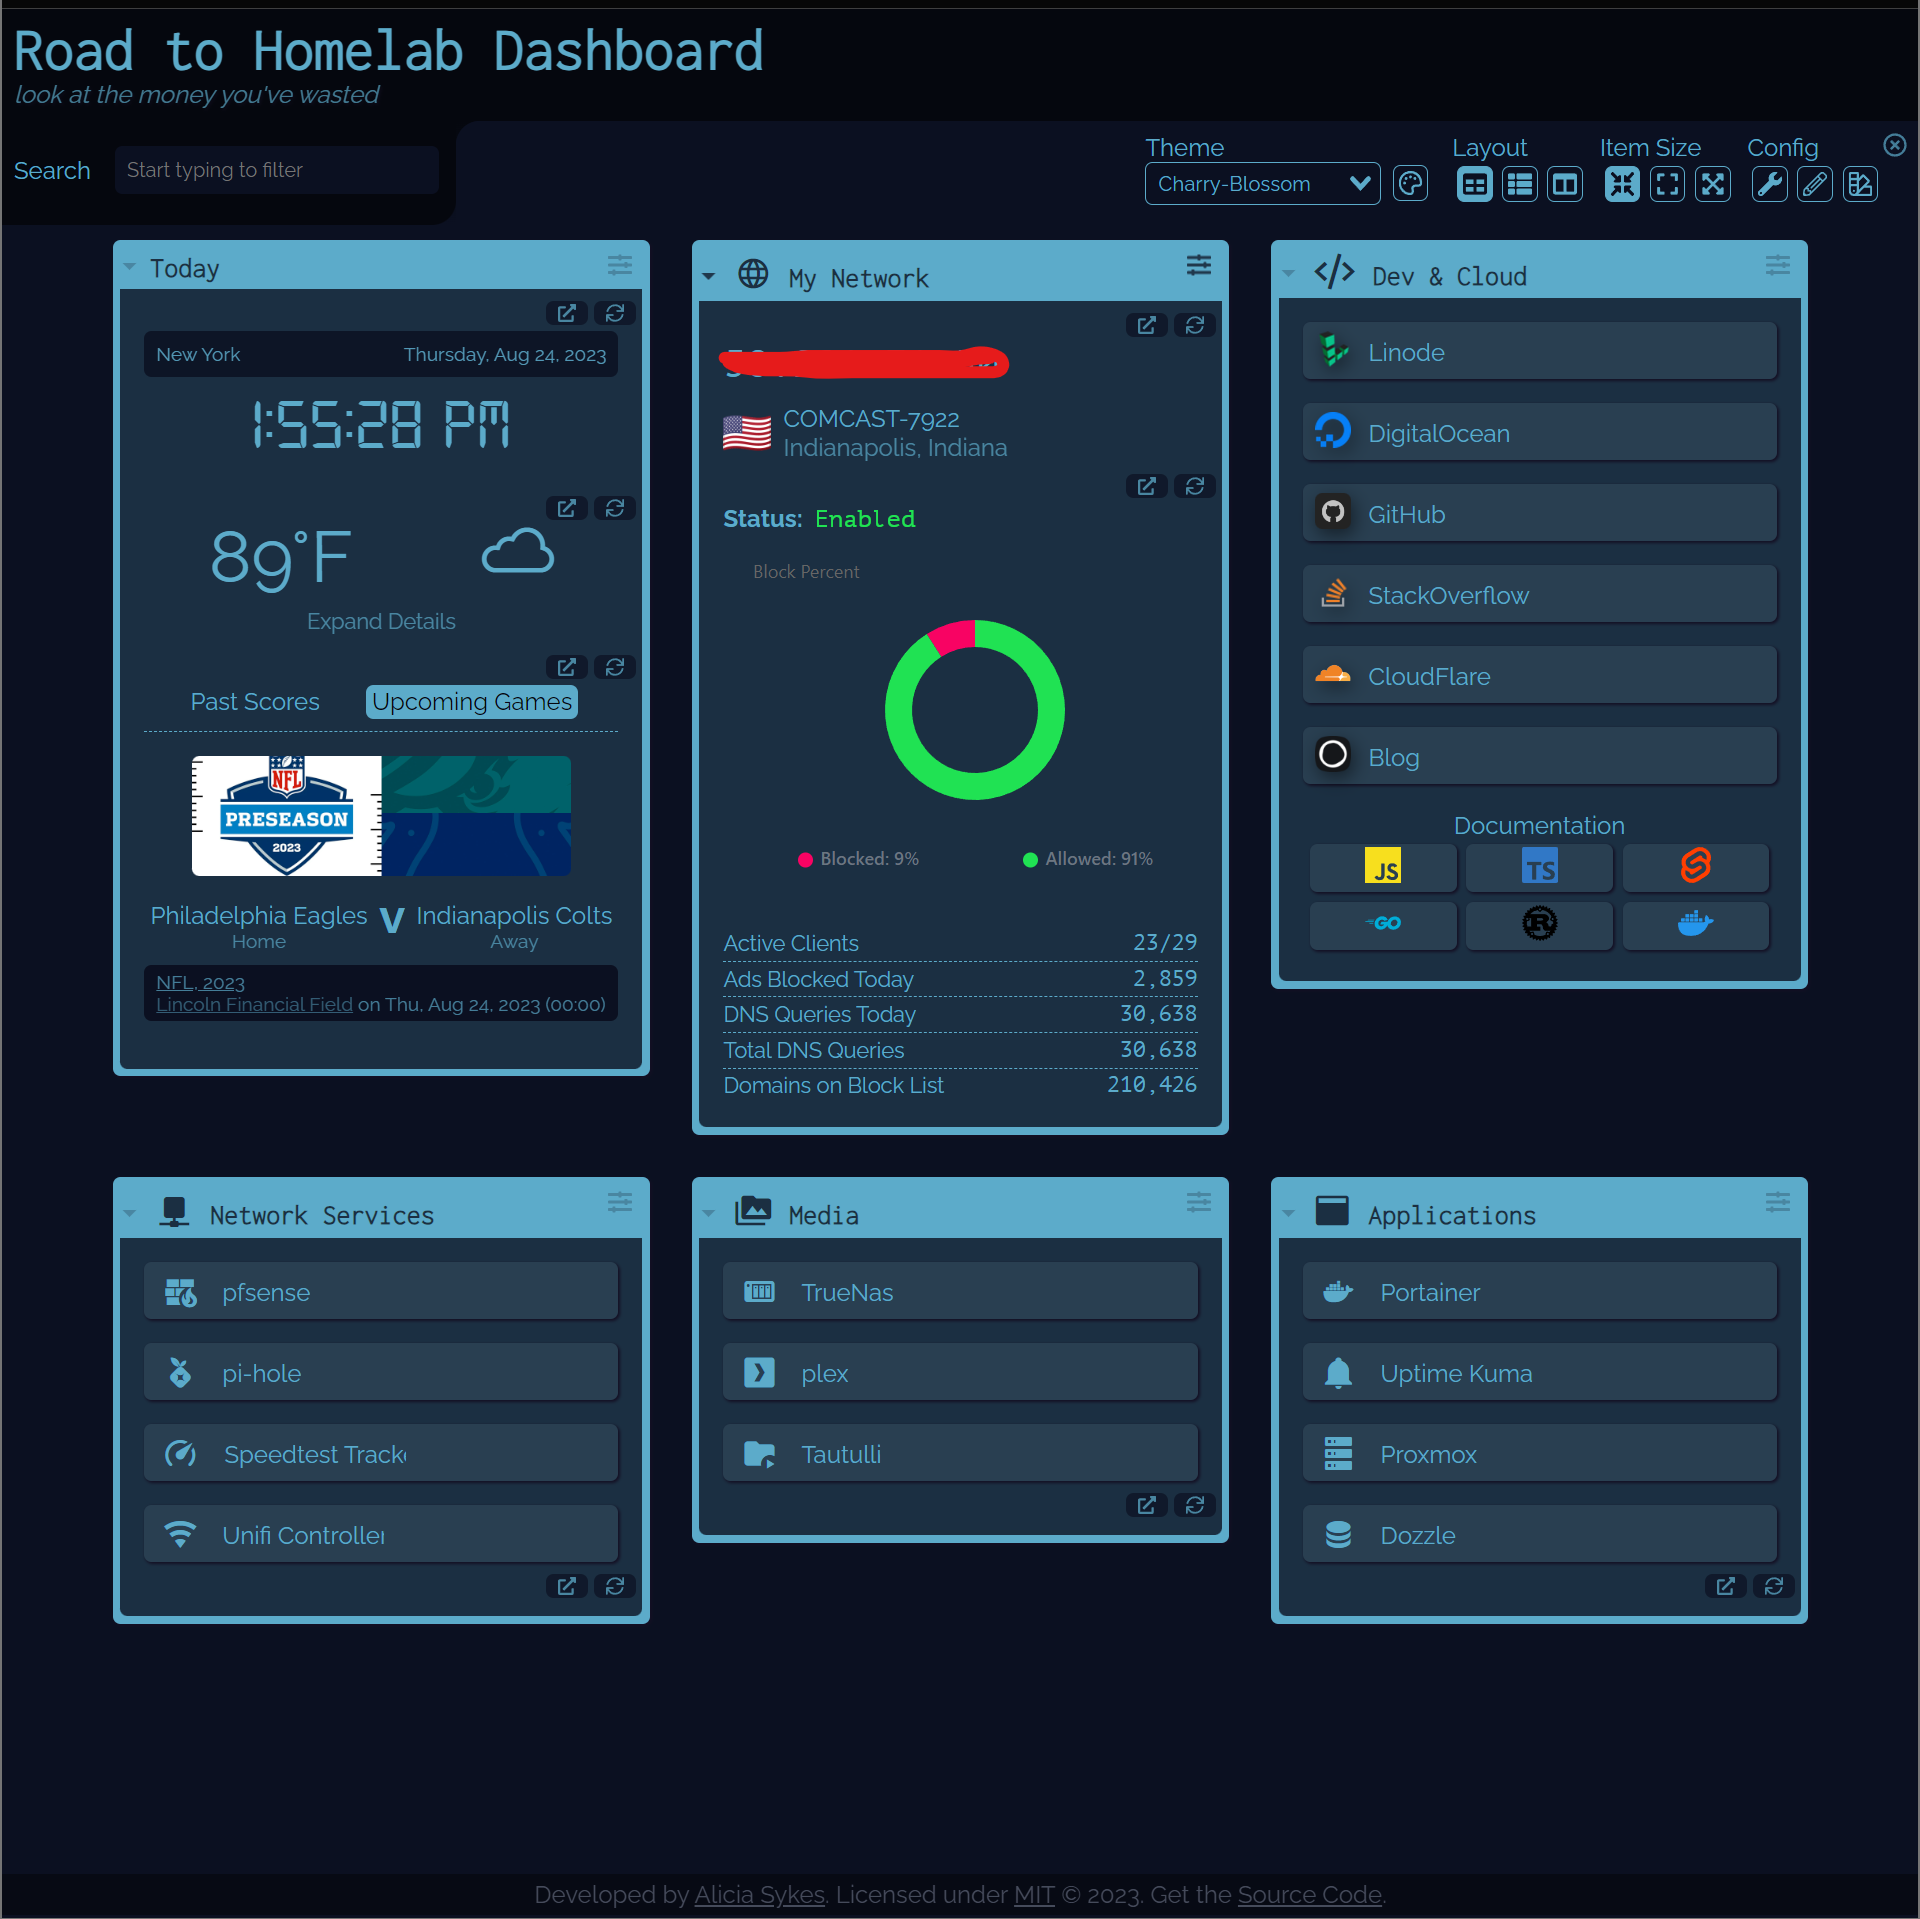
Go birds.
---
# Page meta info, like heading, footer text and nav links
pageInfo:
  title: Road to Homelab Dashboard
  description: look at the money you've wasted

# Optional app settings and configuration
appConfig:
  statusCheck: false
  theme: charry-blossom
  fontAwesomeKey: c94dc2b452
  customCss: '.clock p.time { font-size: 3rem !important; }'
  layout: vertical
  iconSize: small

# Main content - An array of sections, each containing an array of items
sections:
- name: Today
  icon:
  displayData:
    collapsed: false
    hideForGuests: false
  widgets:
  - type: clock
  - type: weather
    options:
      apiKey: efdbade728b37086877a5e83442004db
      city: Indianapolis
      units: imperial
  - type: sports-scores
    options:
      teamId: 134936
      pastOrFuture: future
      limit: 1

- name: My Network
  icon: mdi-web
  displayData:
    collapsed: false
    hideForGuests: false
  widgets:
  - type: public-ip
  - type: pi-hole-stats
    options:
      hostname: http://IPADDRESS
      apiKey: APIKEY
      useProxy: true

- name: Dev & Cloud
  icon: far fa-code
  items:
  - title: Linode
    icon: favicon
    url: https://linode.com
  - title: DigitalOcean
    icon: favicon
    url: https://cloud.digitalocean.com/
  - title: GitHub
    icon: favicon
    url: https://github.com/
  - title: StackOverflow
    icon: favicon
    url: http://stackoverflow.com/
  - title: CloudFlare
    icon: favicon
    url: https://dash.cloudflare.com/
    statusCheckAcceptCodes: '403'
  - title: Blog
    icon: favicon
    url: https://roadtohomelab.blog
  - title: Documentation
    subItems:
    - title: JavaScript
      url: https://developer.mozilla.org
      icon: si-javascript
      color: '#F7DF1E'
    - title: TypeScript
      url: https://www.typescriptlang.org/docs
      icon: si-typescript
      color: '#3178C6'
    - title: Svelt
      url: https://svelte.dev/docs
      icon: si-svelte
      color: '#FF3E00'
    - title: Go
      url: https://go.dev/doc
      icon: si-go
      color: '#00ADD8'
    - title: Rust
      url: https://doc.rust-lang.org/reference
      icon: si-rust
      color: '#000000'
    - title: Docker
      url: https://docs.docker.com/
      icon: si-docker
      color: '#2496ED'

- name: Network Services
  icon: mdi-network
  items:
  - title: pfsense
    description: firewall
    icon: mdi-wall-fire
    url: http://IPADDRESS
  - title: pi-hole
    description: local DNS
    icon: mdi-pi-hole
    url: http://IPADDRESS
  - title: Speedtest Tracker
    description: internet speedtest
    icon: mdi-speedometer
    url: http://IPADDRESS
  - title: Unifi Controller
    description: wifi controller
    icon: mdi-wifi
    url: http://IPADDRESS

- name: Media
  icon: mdi-folder-multiple-image
  items:
  - title: TrueNas
    description: NAS
    icon: mdi-nas
    url: http://IPADDRESS
  - title: plex
    description: media
    icon: mdi-plex
    url: https://plex.tv
  - title: Tautulli
    description: plex stats
    icon: mdi-folder-play
    url: http://IPADDRESS

- name: Applications
  icon: mdi-application
  items:
  - title: Portainer
    description: docker management
    icon: mdi-docker
    url: http://IPADDRESS
  - title: Uptime Kuma
    description: system monitoring
    icon: mdi-bell
    url: https://IPADDRESS
  - title: Proxmox
    description: hypervisor
    icon: mdi-server
    url: https://IPADDRESS
  - title: Dozzle
    description: docker logs
    icon: mdi-database
    url: https://IPADDRESS
The bells and whistles abound on this one.
Homarr

Homarr is a sleek option for those who don't want to mess with yaml. It's mostly drag and drop, with some widget options that really bring it up a level.
Install
You can use Docker run (like me) or Docker compose. If you use the below command, just make sure to update the two -v flags to be the path to your resources.
docker run  \                                                                         --name homarr \
  --restart unless-stopped \
  -p 7575:7575 \
  -v /home/docker/homarr/configs:/app/data/configs \
  -v /home/docker/homarr/icons:/app/public/icons \
  -d ghcr.io/ajnart/homarr:latest
Homarr is accessible via localhost:7575.
Config
After install you're met with this page.

By clicking the little edit button in the top righthand corner you are able to drag the icons around. All I can say is this GUI is slick. First thing to note is the settings menu under the hamburger icon at the top right. Under settings you can:
- enable ping on services
- change the number of columns displayed when the screen is different sizes
- change accessibility options
- change the color scheme and appearance of Homarr
When you're ready to add apps and bookmarks just click the "enter edit mode" button in the top right and then "add a tile". You'll be presented with this popup.
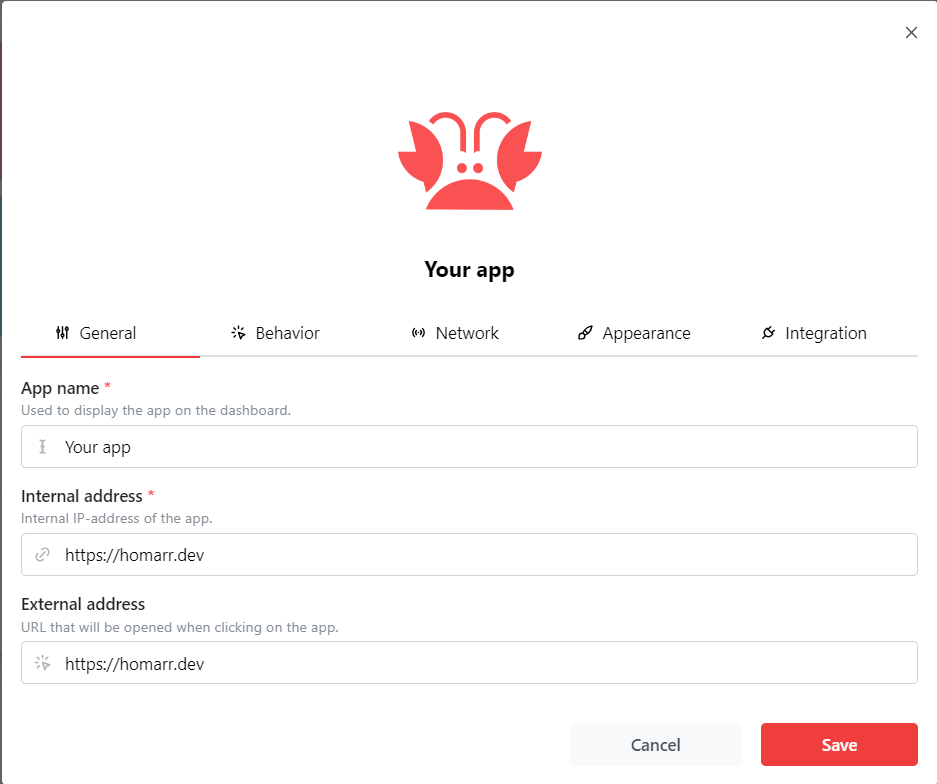
If you start typing the name of your app, for instance, "Plex", Homarr will automatically go grab the icon for you, which is excellent design. Then you fill out the address that the button should take you to (i.e. the IP of your app).
"Behavior" let's you choose if the link opens in a new tab or the same page.
"Network" allows you to customize the status checker feature of Homarr.
"Appearance" let's you to pick or change the icon associated with that link in addition to some other display options.
"Integration" gives you some options to use API keys to further integrate your services into Homarr. There isn't a huge list, but the one's I've played with so look great. Here's an example of a Pi-Hole integration.
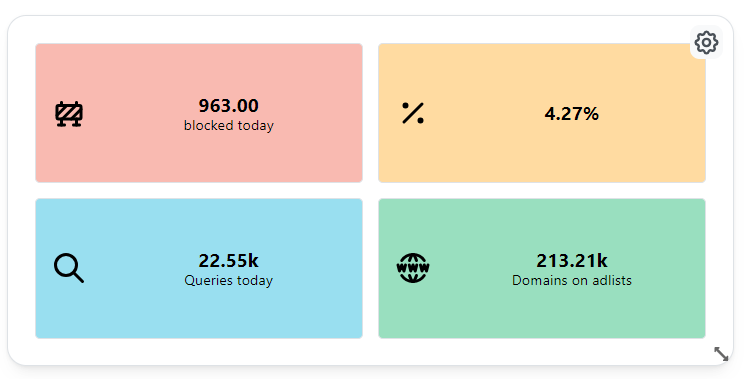
One thing that Homarr is missing is that there isn't a way, that I see, to drag or resize your Categories. That means a Category will take up an entire row of space, no matter how many services are in there. This is a little annoying since I really like to play around with the look of my dashboard until it's just right.
Here's what I came up with.
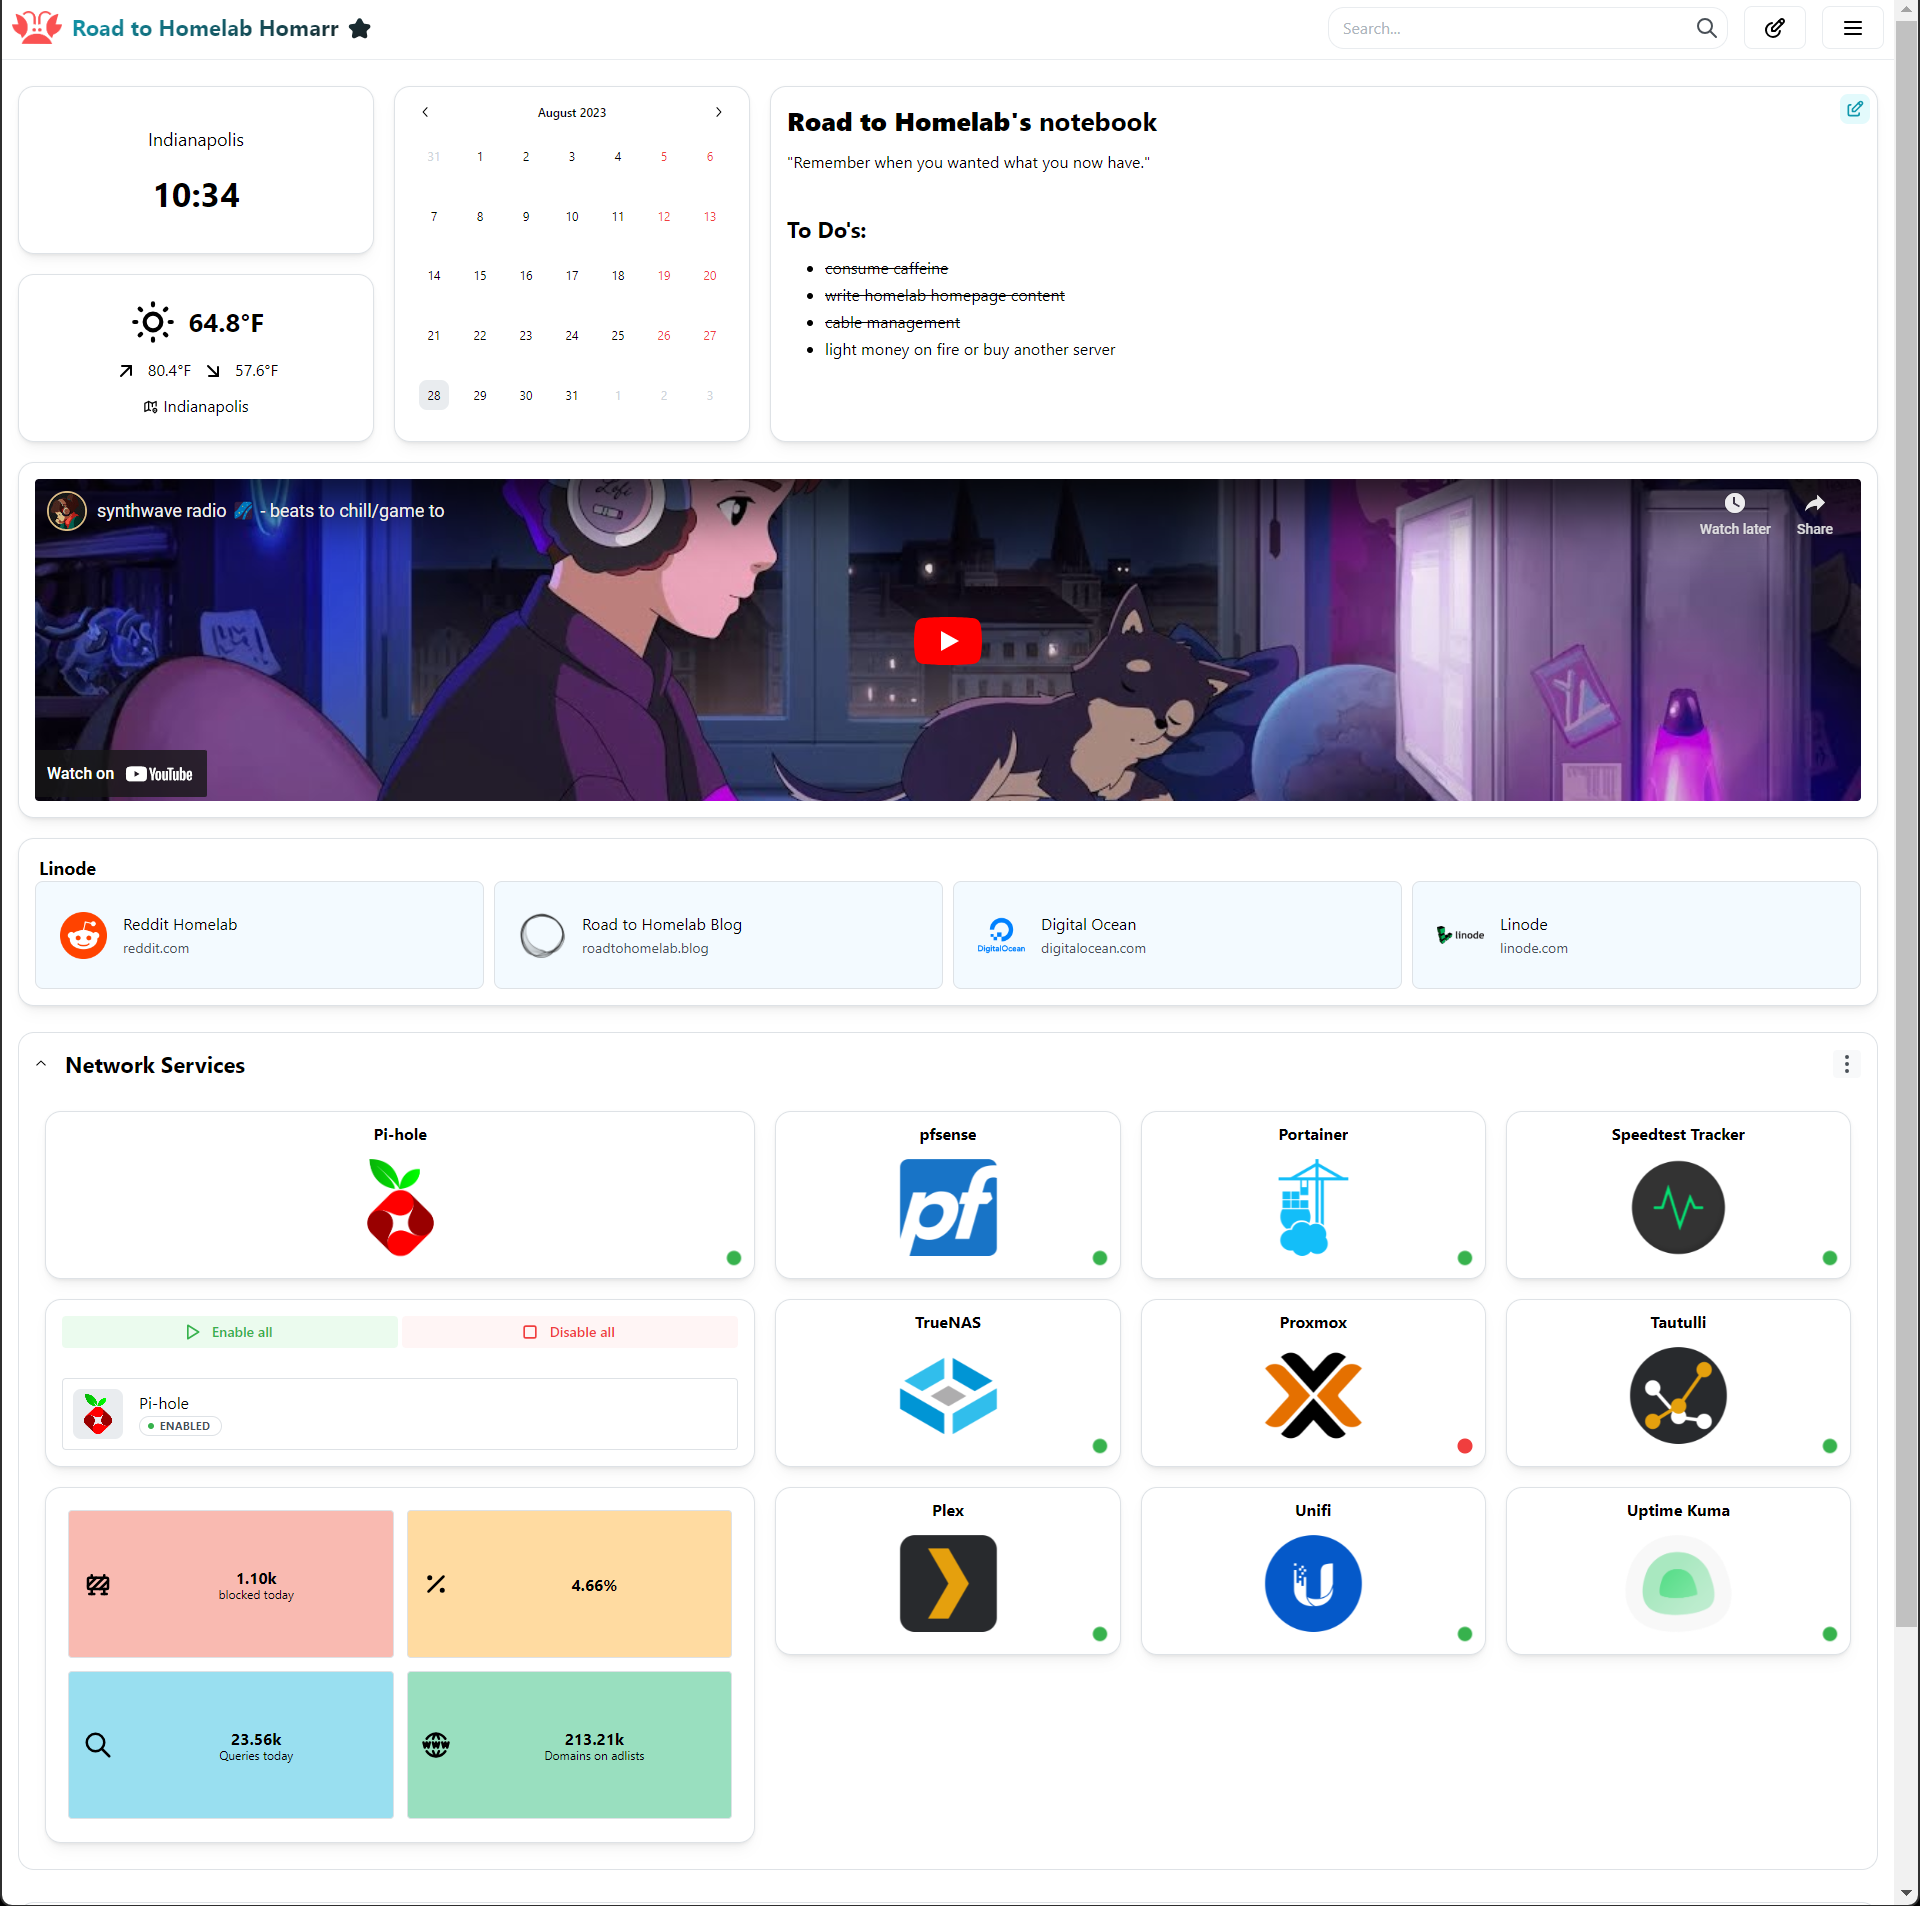
The options for a markdown notebook, iframe, and weather/calendar widgets is fantastic and welcomed. Good stuff Homarr.
Thanks for reading.
Did I miss any?
I could only dive in to some of the configurations for these platforms, if you're interested in more of what they can do I recommend you read the documentation and support the developers.
If you're interested in having your internal DNS point a custom domain to your new homepage, I wrote a blog just for you.
